How to Teach Crosswind Landings: A New CFI’s Right-Seat Guide
A crosswind landing isn’t a wind problem — it’s a coordination problem. The new CFI’s job from the right seat is to coach a student through a continuous cross-controlled slip (aileron into the wind, opposite rudder to keep the nose straight) all the way through touchdown. Teach the slip at altitude first, at 3,000 feet, in a steady slip, ball deliberately off-center. The runway environment becomes the test, not the lesson. I’m Chris Palmer, two-time Master Aviation Educator, Gold Seal CFI, founder of Angle of Attack. The day my CFI made me sit on my hands for ten consecutive crosswind approaches was the hardest lesson of my CFI training. Here’s how to teach it.
- A crosswind landing is one continuous cross-controlled slip. Aileron into the wind, opposite rudder to keep the nose straight, held all the way through touchdown. The wing-low method is FAA-recommended in most cases per FAA-H-8083-3C Chapter 9.
- The CFI right-seat requirement lives in 14 CFR 61.187(b)(1)(vii) (“Takeoffs, landings, and go-arounds”) and FAA-S-ACS-25 Area VII Task F (“Normal and Crosswind Approach, and Landing”). You teach what the student is rated for, and demonstrate from the right seat on your CFI checkride.
- Teach the slip at altitude first. The “Practice at Altitude” drill pioneered by SAFE / David St. George builds coordinated cross-controls 3,000 feet up before the student ever flies one fifty feet off the runway.
- The Cessna 172 max demonstrated crosswind component is 15 knots, and the Airplane Flying Handbook explicitly says the demonstrated value is not a limit. Teach your student to set a personal minimum, not a demonstrated minimum.
- Your job from the right seat is to coach the student through it while the airplane slides sideways toward centerline. Not to demonstrate the technique. Calm as a skill. Yours, first, before it’s theirs.
The CFI Toolkit Every New Instructor Wishes They Had on Day One
Most new CFIs build their teaching system from scratch. A binder of borrowed lesson plans, scattered notes, and ACS PDFs. The Anti-Binder Template is the one-page lesson framework I use to plan every lesson, including crosswind landings. Same scenario-first shape. Same Day-One focus.
Grab the Anti-Binder Template — Free →
Walking into your first lesson with a 50-page binder won't help you.
Get my Anti-Binder One-Page Lesson Plan Template free — the lesson plan tool I built for CFI candidates who want to be ready Day 1.
Get the Anti-Binder Template Free
WHAT'S IN THIS GUIDE
- 1What a Crosswind Landing Actually Demands (And Why It’s the Hardest Lesson You’ll Teach)
- 2Find the Simpleness — One Continuous Cross-Controlled Slip
- 3The One-Page Lesson Plan for Crosswind Landings (Six Boxes Applied)
- 4Practice at Altitude — The At-Altitude Drill
- 5How to Teach a Crosswind Landing from the Right Seat
- 6Wing-Low vs. Crab — The Comparison the Student Needs
- 7When Should a CFI Take the Controls? (The Right-Seat Decision Tree)
- 8Common Student Errors on Crosswind Landings
- 9Maximum Demonstrated Crosswind Component (And Why “Demonstrated” Doesn’t Mean “Limit”)
- 10Where This Lives in TotalCFI (Lesson 3.3 — Find the Simpleness)
- 11Frequently Asked Questions
What a Crosswind Landing Actually Demands (And Why It’s the Hardest Lesson You’ll Teach)
My CFI training was in Wisconsin in 2017. Cold-and-windy. A clean tricycle 172. And a CFI named Dan who saw my first crosswind-landing demo and made me sit on my hands for the next ten approaches.
I had to talk. That was the entire lesson. No hands on the yoke. No hands on the throttle. Only talking. The student, a private candidate Dan had recruited to help my training, flew. I narrated. Dan listened from the back seat. After the tenth landing he said: “Now you can talk and fly. But first you had to learn that a CFI’s job is to talk first and take controls last. Most CFIs never learn that. They grab too soon.”
That’s still the hardest lesson of my CFI training. And it’s the lesson that defines whether crosswind landings will break you as a new CFI or build you. Because crosswind landings ask you to teach four things at once: coordination, pattern flying, wind correction, and runway alignment. All fifty feet off the ground, with the airplane drifting sideways, with the student sweating, with the runway sliding under the wing wrong. Of course it breaks. The fix isn’t to teach harder. The fix is to slow down and back up.
The maneuver’s intent is clean enough to state in one sentence. Align the airplane with the runway, drift it to zero, touch down on the upwind main wheel first, hold the wing low through rollout. That’s the result. The regulatory backbone is just as tidy:
- 14 CFR 61.107(b)(1)(iv). Private Pilot flight proficiency: “Takeoffs, landings, and go-arounds.” The regulation doesn’t split crosswind out by name. The ACS does.
- 14 CFR 61.127(b)(1)(iv). Commercial Pilot flight proficiency: same structure. The crosswind word lives in the ACS, not in the reg itself.
- 14 CFR 61.187(b)(1)(vii). Flight Instructor flight proficiency: “Takeoffs, landings, and go-arounds.” This is where the CFI right-seat requirement lives. Not 61.183 (that’s eligibility: age, English, prerequisites). 61.187 is proficiency.
- FAA-S-ACS-25 Area of Operation VII, Task F. “Normal and Crosswind Approach, and Landing.” This is the ACS task that names the crosswind word and lists the skills the CFI applicant must demonstrate from the right seat.
- FAA-H-8083-3C Chapter 9. “Approaches and Landings.” This is where the maneuver lives in the Airplane Flying Handbook. (Note: the 8083-3C revision relocated this; older 8083-3B placed it in Chapter 8. If you’re working from a paper copy, check the edition.)
The student you teach today will fly hundreds of crosswind landings without you. The discipline you build into them now (coordinated aileron and rudder, slip first then runway, hand-off at the right moment) is what keeps them alive when the wind picks up at an unfamiliar field on a tired Sunday. Professionalism is not a certificate — it’s behavior. The behavior we’re building here is the slow part. The slip at altitude. The brief that names the scenario. The takeover that doesn’t happen until it must.
Find the Simpleness — One Continuous Cross-Controlled Slip
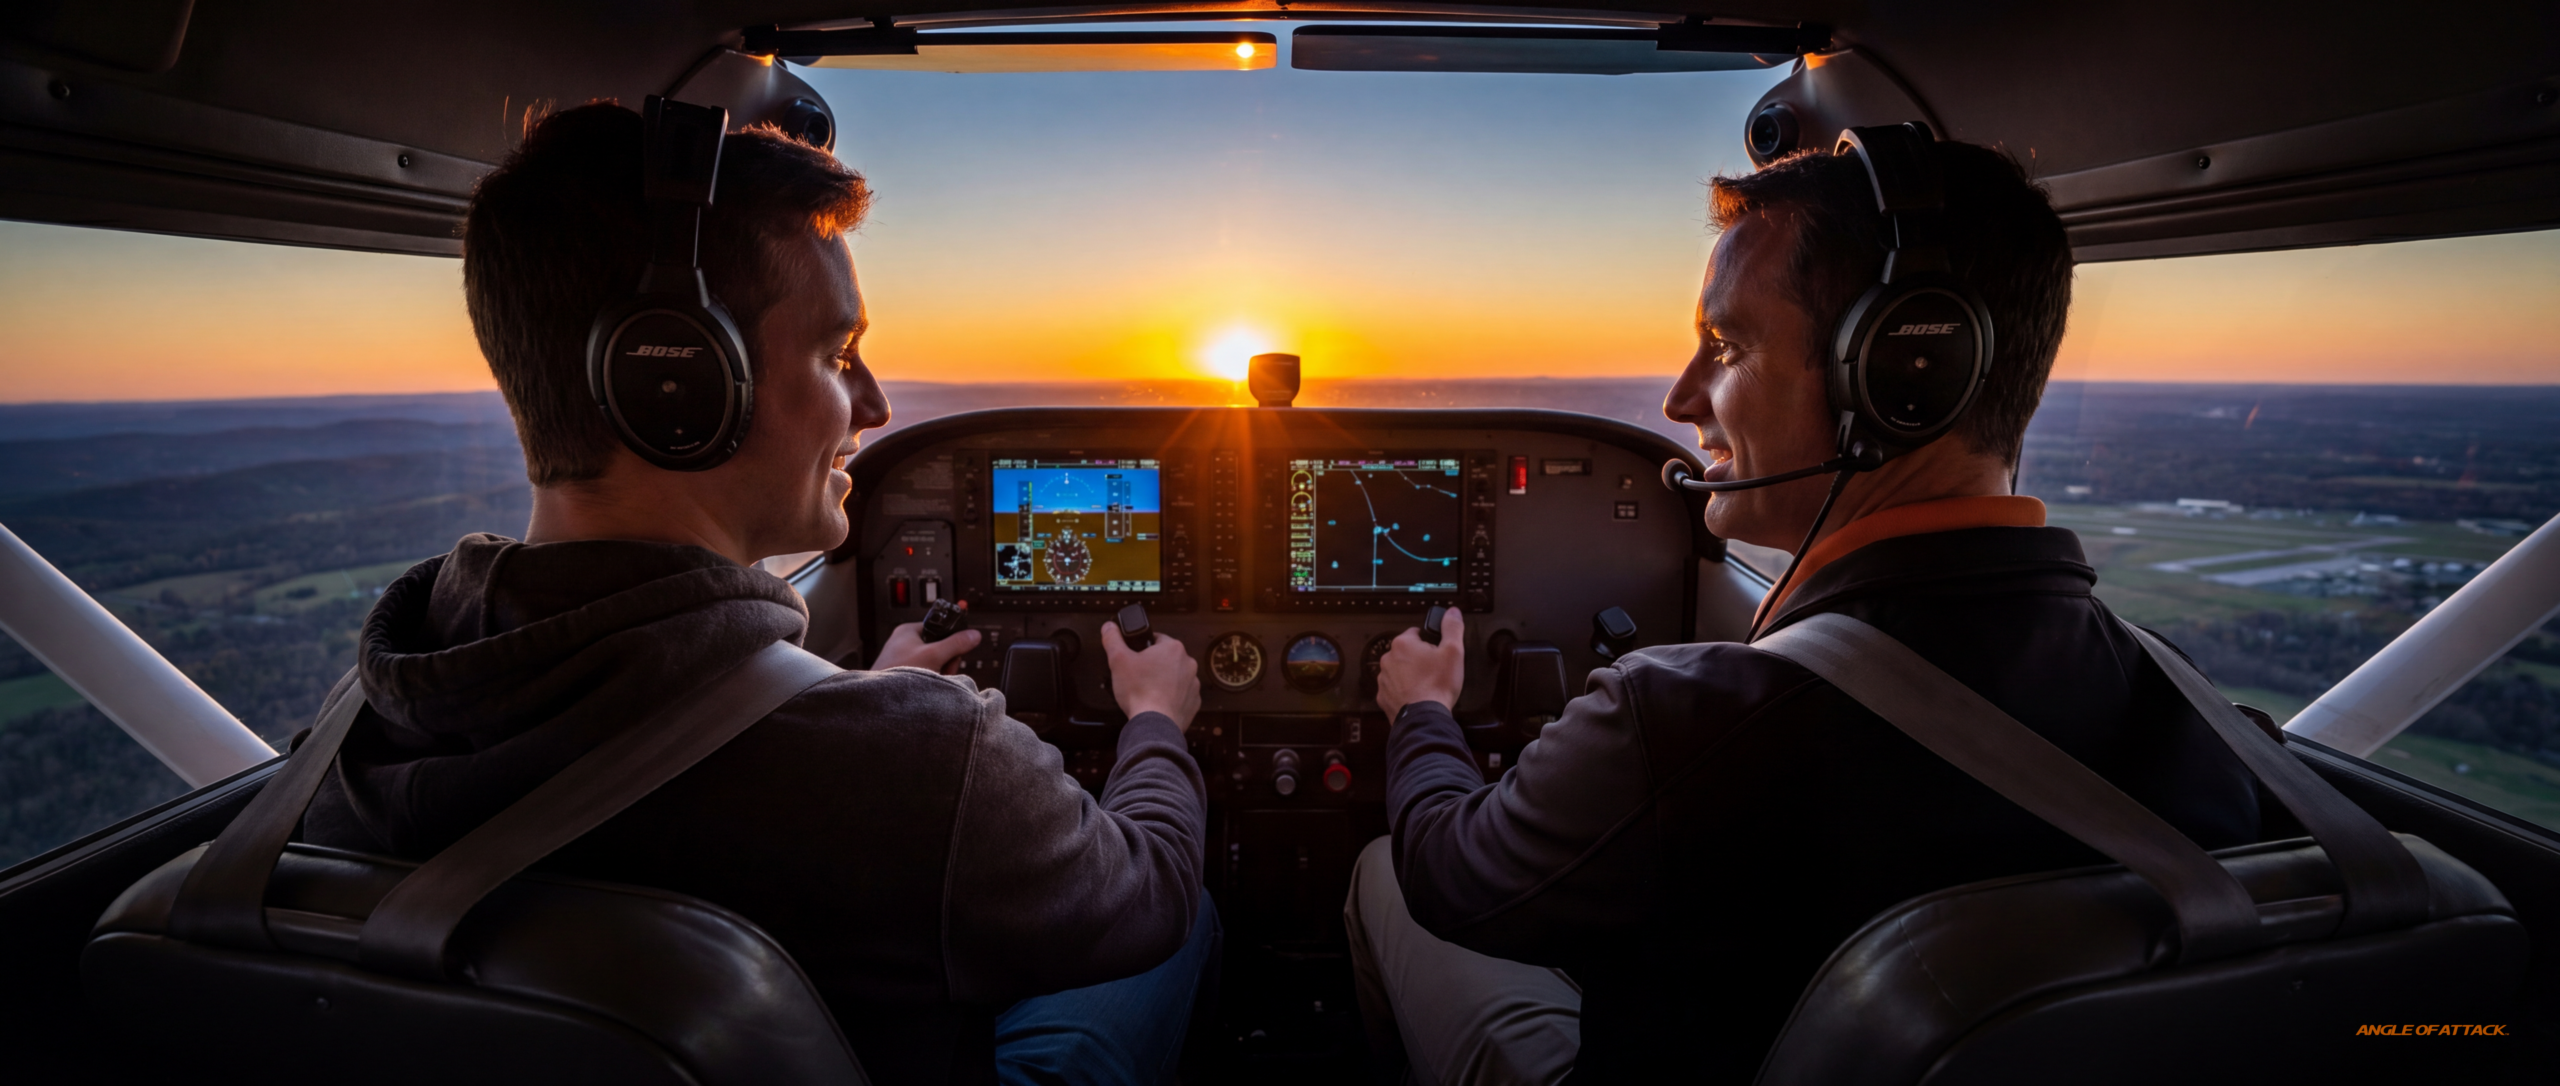
This is the load-bearing sentence of the article. Burn it in.
A crosswind landing is one continuous cross-controlled slip. Aileron into the wind, opposite rudder to keep the nose straight, held all the way through touchdown.
That’s the simpleness. Every variation hangs off that core idea. Wing-low all the way down. Crab on final, kick out at the flare. Crab-to-slip transition. Tailwheel wheel-landing. They’re all the same idea with different timing.
The FAA’s Airplane Flying Handbook makes the recommendation explicit. Quote from Chapter 9: “There are two usual methods of accomplishing a crosswind approach and landing, the crab method and the wing-low (sideslip) method. The wing-low method is recommended in most cases, although a combination of both methods may be used.” The FAA isn’t telling you not to use crab. It’s telling you that for the tricycle-gear trainers your students will fly, the wing-low slip is the method to teach first.
The principle that anchors all of it, and the reason this lesson hooks into the rest of the F-cluster, is coordinated cross-controls discipline. The same discipline that holds heading in slow flight. The same discipline that prevents the base-to-final skid stall I’ve written about in How to Teach Power-Off Stalls and How to Teach Power-On Stalls. The same discipline that drives an eights-on-pylons. When you teach a student to feel opposite aileron and opposite rudder in a slip at altitude, you’re not just teaching crosswind landings. You’re building the muscle that catches them at every coordination moment for the rest of their flying.
That’s the wedge. Crosswind landings are a coordinated aileron + rudder discipline you should have built from solo. The wind is the test. The coordination is the skill.
The One-Page Lesson Plan for Crosswind Landings (Six Boxes Applied)
The Six Boxes lesson plan is the AOA standard one-pager I built into the CFI lesson plan template. It fits on one side of a sheet of paper. It carries the entire flight, brief to debrief, in six fields. Here’s what it looks like filled in for crosswind landings.
Objective
The student will fly a coordinated wing-low crosswind landing to ACS standards for the rating they’re pursuing, touching down on the upwind main wheel first, with directional control maintained through rollout. Pre-solo students focus on the slip mechanics at altitude before the runway. Private and commercial students focus on the runway environment with the slip already in their hands.
Completion Standard
Pulled from the ACS for the rating in the left seat:
- Private (FAA-S-ACS-6C), Area IV Task B “Normal Approach and Landing”: Maintain stabilized approach speeds ±5 knots. Touch down at the proper pitch attitude, on the upwind main wheel first in a crosswind, within 400 feet beyond a specified point. Maintain directional control and crosswind correction throughout the approach and landing.
- Commercial (FAA-S-ACS-7B), Area IV Task B: Same skill list, tighter tolerance. Touch down within 200 feet beyond a specified point.
- CFI (FAA-S-ACS-25, Area VII Task F): Demonstrate and teach the maneuver from the right seat with risk management and instructional knowledge. Examiner role-plays as the student.
The One Thing
One continuous cross-controlled slip. Aileron into the wind, opposite rudder to keep the nose straight, held all the way through touchdown. Land on the upwind main first. Increase aileron deflection as the airplane slows in rollout.
Common Errors + Right-Seat Corrections
The four most common student errors and what you say in the right seat (full version is the H2 below):
- Not enough rudder. “Feet first. Rudder makes the nose go where you want it; aileron stops the drift.”
- Letting the upwind wing rise. “The bank IS the correction. If the airplane is drifting, hold more bank.”
- Flat touchdown, both mains at once. “Land on the upwind main first. Hold the slip through touchdown.”
- Releasing controls in rollout. “Aileron deflection increases as you slow down. The wind doesn’t stop at touchdown.”
Teaching Sequence (Brief → At-Altitude Drill → Demo at Runway → Student-Flown → Debrief)
- Pre-flight brief. Talk the slip on the whiteboard, name the scenario.
- At-altitude drill. The SAFE drill, six steps from rudder control to low centerline slow flight. Build coordinated cross-controls before the runway environment adds pressure.
- Demo at the runway. One clean approach, narrated through the slip-to-touchdown transition.
- Student-flown. Silent-coach principle; point at the centerline, point at the slip ball, take controls only on a stacked trigger.
- Debrief. One question: “When did the upwind wing rise?”
Debrief Prompt
“When did the upwind wing rise?” Not “did you land flat?” (that’s binary, and it stops the conversation). The wing-rise question forces the student to trace the chain backward to the moment they stopped holding bank into the wind. That moment is the lesson.
The Six Boxes is what makes this teachable to a new CFI without a binder. One page. Reusable across crosswind, soft-field, short-field. The lesson plan is the contract.
Practice at Altitude — The At-Altitude Drill
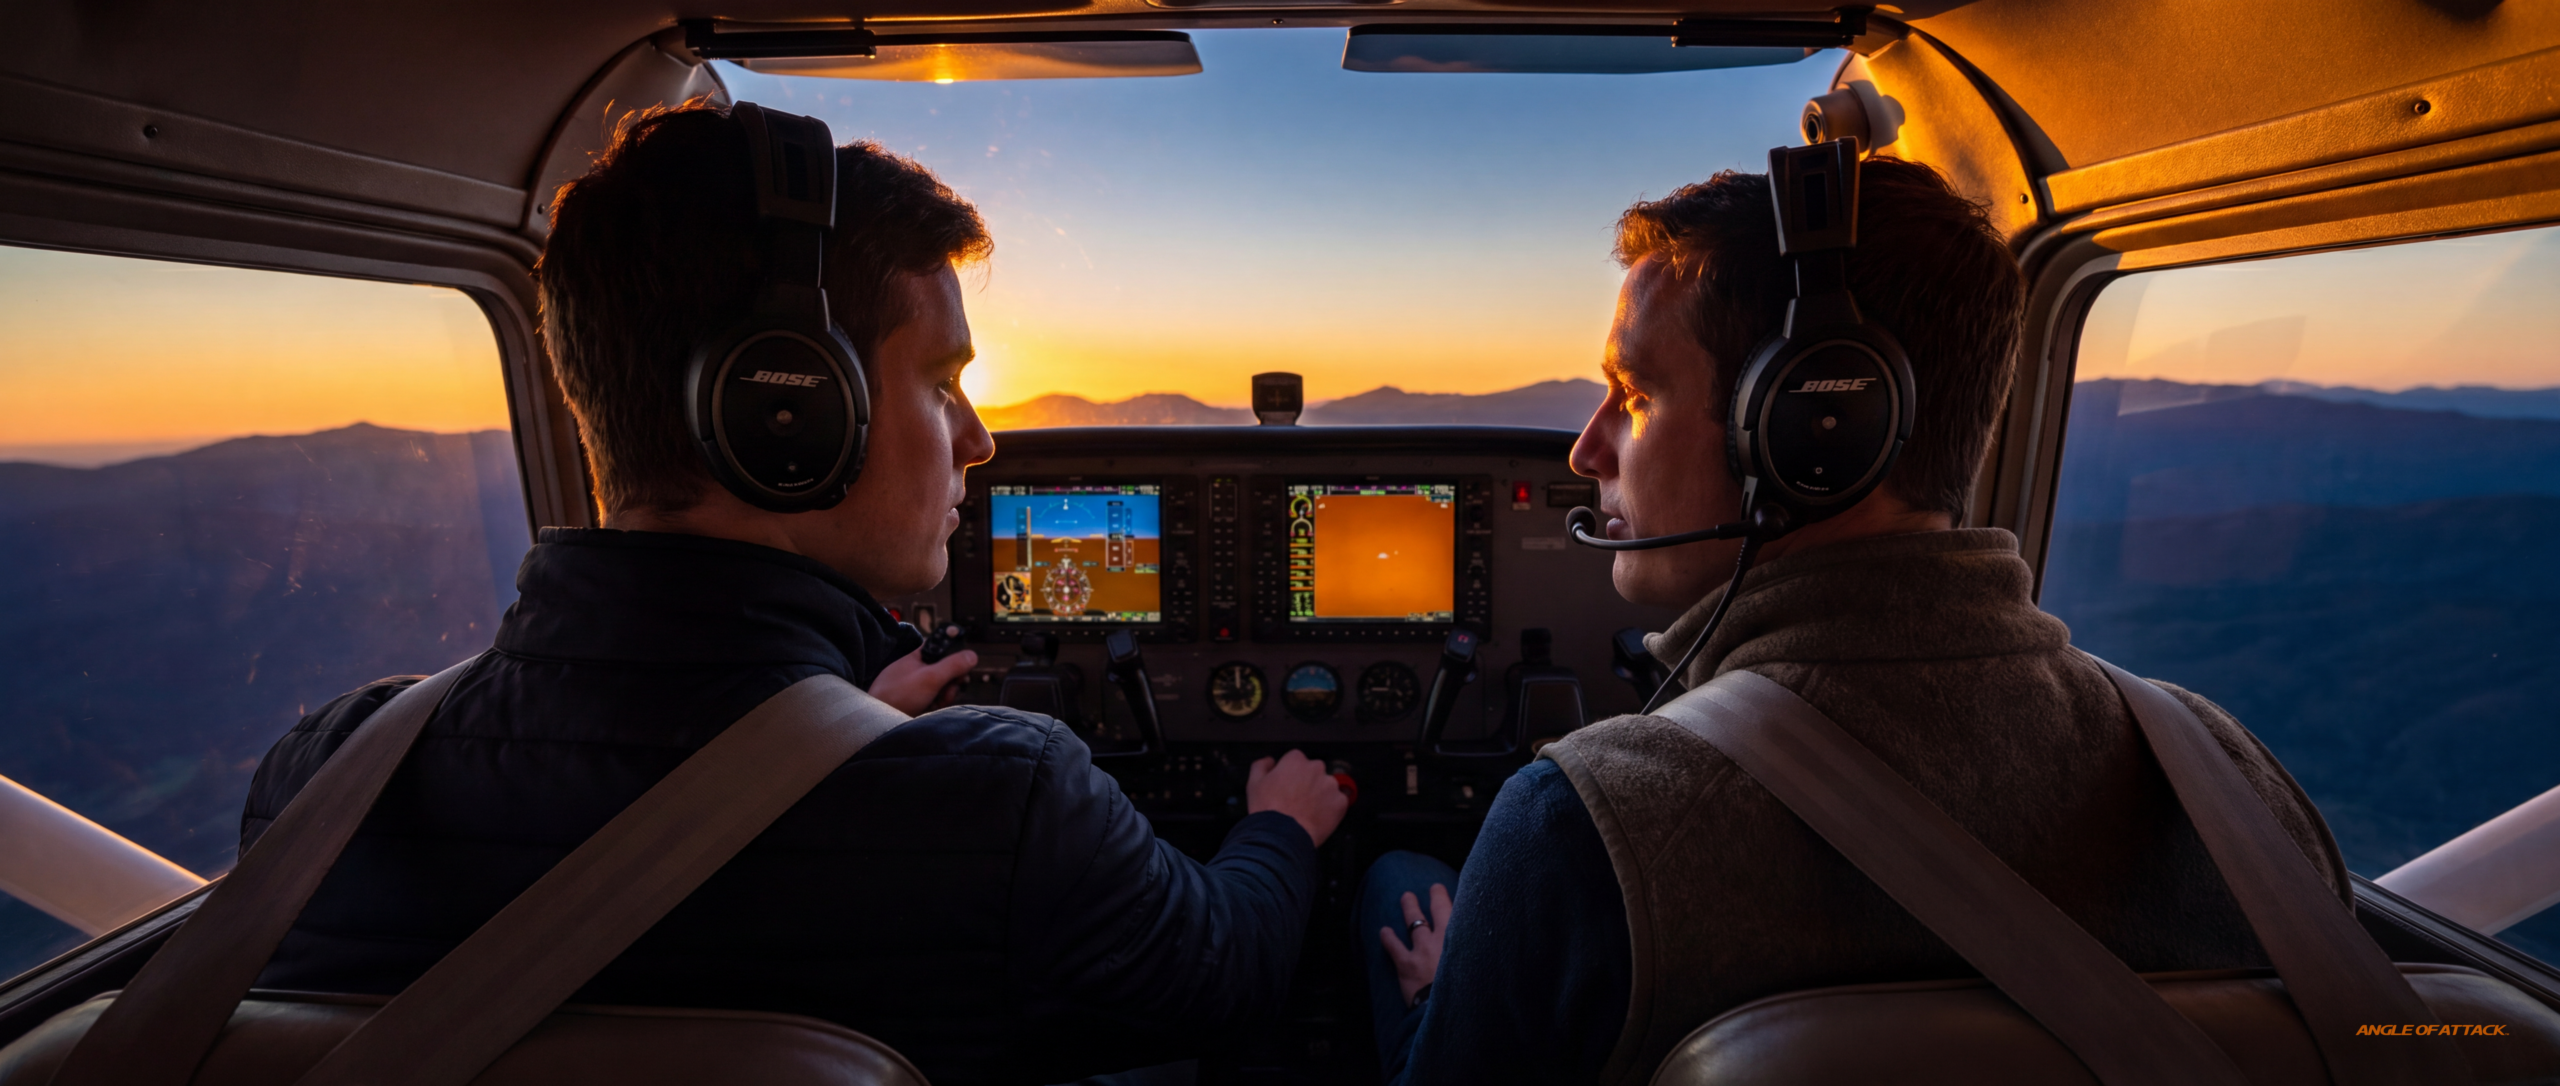
This is the section that separates a teaching article from a flying article. You build coordinated cross-controls at 3,000 feet AGL before you ever try to use them fifty feet off a runway.
The drill is not my idea. It’s the work of David St. George at SAFE (Society of Aviation and Flight Educators), Director of Operations there, a multi-thousand-hour DPE, who published it in 2019 as part of SAFE’s broader campaign to put more substance into landing instruction. I adopt the drill wholesale and credit the source. The framing (find the simpleness, then bring it to the runway) is the AOA layer on top of David’s progression. Together they’re the most efficient way to teach crosswind coordination I’ve found in twenty years in aviation education.
Here’s the progression. Climb to 3,000 AGL minimum. Pick a long, clean horizon with no traffic, no terrain conflicts, plenty of room.
Step 1 — Rudder control at approach speed. Slow the airplane to approach speed, configured clean. Have the student fly straight-and-level using rudder only to move the nose left and right, with opposite aileron to keep the wings level. The airplane is now in a deliberately uncoordinated state. The student feels the ball off-center for the first time on purpose.
Step 2 — Rudder boxing. Have the student “draw a box in the sky” with the nose. Pitch up to a Vx attitude, traverse left with rudder alone, pitch back down to level, traverse right with rudder alone, return to start. Builds precise nose-positioning. The student stops fighting rudder and starts using it.
Step 3 — Slip practice. Bank into a slip with full opposite rudder. Hold the nose on a point on the horizon. The airplane doesn’t turn, it sideslips. Alternate sides. Carry to the limit of rudder travel on each side. This is the muscle memory of the cross-controlled slip itself: opposite aileron, opposite rudder, held against the wind they will feel on final.
Step 4 — Dutch rolls near stall speed. Slow to just above stall. Roll left and right with coordinated rudder. At slow speeds, adverse yaw is exaggerated. The student feels what happens when rudder doesn’t lead aileron. Builds the feel for rudder leading.
Step 5 — Low centerline slow flight. Bring the slip down to runway altitude. Fly slow flight along the centerline of an inactive runway (with permission from the tower if controlled), or above the runway environment if conditions allow. The student is now flying the application of the slip without the touchdown pressure.
Step 6 — Full crosswind landings. The student has the simpleness in their hands. The runway is now the test, not the lesson.
The whole drill takes one flight, 1.0 to 1.3 hours. Some students will get through all six steps in one block. Others stop at Step 3 and the wing-drop instinct still needs work. Don’t push to the runway until Step 5 is clean. If the student can’t hold a slip in slow flight along an imaginary centerline at altitude, they can’t hold one fifty feet off the runway. They’ll just hide it inside the chaos of the pattern.
This connects directly to FAA-H-8083-9B Chapter 4, the teaching process: brief, demonstrate, manipulate, practice. The at-altitude drill is the manipulate phase done right. The student is manipulating the controls in a low-stakes environment until the coordination is built, then you take it to the runway. That’s the FAA’s pedagogical sequence. Most new CFIs collapse it. They brief, demo at the runway, manipulate at the runway. That’s why crosswind landings break new CFIs. They skipped the at-altitude manipulate phase the FAA literally tells you to fly.
How to Teach a Crosswind Landing from the Right Seat
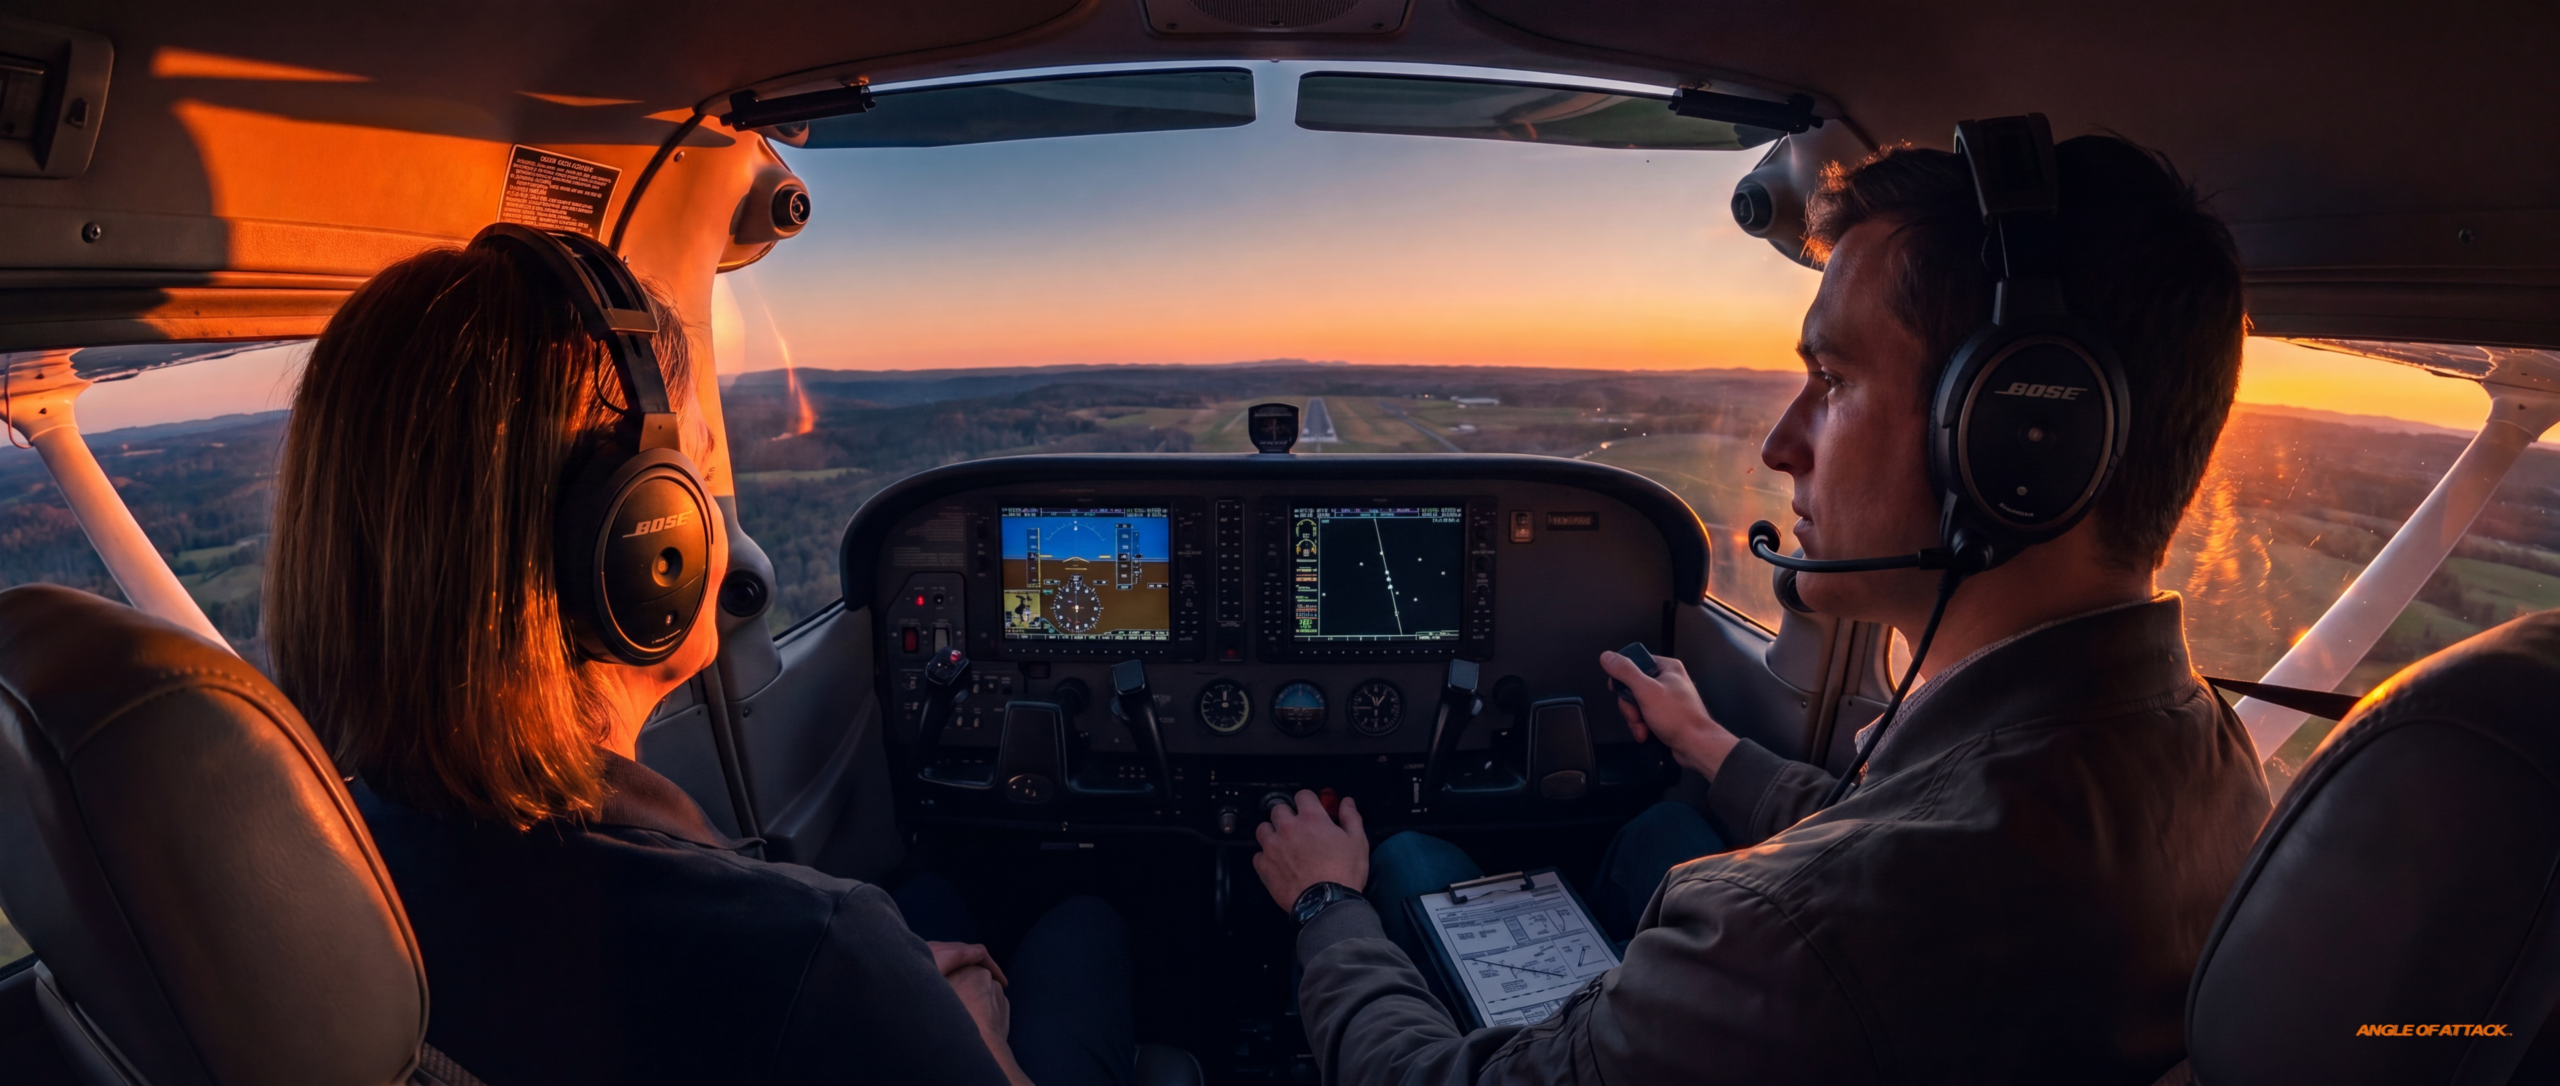
The right seat is its own skill. Three things change when you slide across the cockpit, and the brief that surrounds the lesson changes too.
The Pre-Flight Brief (4 Parts, 5 Minutes, No PowerPoint)
-
Scenario. “Today we’re going to fly the scenario of landing with the wind coming from off the side. Here’s what the airplane will tell you: it’ll want to drift downwind. Here’s what you’ll feel: a need for opposite rudder to keep the nose straight, and bank into the wind to cancel drift. We’re going to build that feeling at altitude first.”
-
Demo plan. “I’ll fly the at-altitude drill first. Watch the controls. Watch the ball. Watch how I’m coordinating opposite aileron and opposite rudder. Then I’ll demo a crosswind landing in the pattern. One. Then it’s your airplane.”
-
Error correction expectation. “When you fly the slip, I’ll point at the ball if I want you to notice it. I’ll point at the centerline if you’re drifting. I won’t take the controls unless you ask me to. If I do take it, I’ll say ‘I have the airplane’ clearly and we’ll go around. Otherwise the airplane is yours.”
-
Debrief expectation. “After we land, before we set up for the next one, I’ll ask you: when did the wing rise on the upwind side? Not ‘did you land flat’. When did the wing rise? We’re tracing the chain back.”
The brief is the contract. Five minutes. No PowerPoint. New CFIs skip the brief or replace it with a procedure brief that lists steps. Don’t. The scenario brief is what makes the airplane teachable when you’re in the air.
The Demo at Altitude
You fly the at-altitude drill first. Narrate every input. “Slowing to approach speed. Configured clean. Rudder right, see the nose move. Opposite aileron to hold wings level. Now banking left, full right rudder, feel the ball off-center, see the slip developing. Holding the nose on the horizon point. Carrying full rudder. Returning to coordinated.” The student watches a CFI fly coordinated cross-controls deliberately, in calm air, with verbal mapping. That mapping is what carries to the runway.
The Demo at the Runway
One clean approach. Narrate the slip-to-touchdown transition. “Turning final. Wind from the left. Establishing the slip: left wing low, right rudder. Holding the slip. Airspeed on number. Holding the slip through the flare. Upwind main first: left main, then right. Holding aileron deflection left as I slow. Holding rudder for directional control. Aileron full left as I roll out.” One demo. Then the student flies.
The Student’s Attempt (Silent-Coach Principle)
Here’s where most new CFIs lose the lesson. They coach over the student. “More right rudder. More right rudder. MORE RIGHT RUDDER.” The student stops flying the airplane and starts flying the CFI’s instructions. Wrong direction.
The silent-coach principle: one finger and three words, maximum. Point at the ball. Say “ball.” Point at the centerline. Say “centerline.” Otherwise the cockpit is silent. The student is flying. The airplane is teaching.
When do you break silence? When the trend is wrong, when the airplane is diverging, not just imperfect. A wandering centerline that’s recovering? Silent. A wandering centerline that’s getting worse? “Centerline.” A slip that’s getting too steep? Silent. The airplane will tell them. A slip that’s reversed (downwind aileron, upwind rudder)? “I have the airplane.”
The Debrief (One Question)
Back on the ground, in the FBO or in the airplane with engine shut down. One question:
“When did the wing rise on the upwind side?”
That’s it. Not “did you land flat.” Not “what went wrong.” Not “let’s review the recovery sequence.” The wing-rise question forces the student to trace the chain backward, to the moment they stopped holding bank into the wind. That moment is the lesson. Once they identify it, they tell you what to fix next time. You don’t have to. The airplane already did.
This 4-step right-seat method (brief, demo, silent-coach, wing-rise debrief) is the spine of TotalCFI Lesson 3.3, Find the Simpleness. It’s how you turn a procedure-trained CFI candidate into a coordination-trained right-seat coach. Be the CFI your student will trust on final.
Wing-Low vs. Crab — The Comparison the Student Needs
The FAA recommends wing-low in most cases. Crab exists for a reason. Your student needs to know both, but they need to fly wing-low for the airplane they’re sitting in. Here’s the comparison they need.
| Method | When to Use | Pros | Cons | Aircraft Class |
|---|---|---|---|---|
| Wing-Low (Sideslip), slip the whole approach | Most GA crosswind landings (the AFH-recommended method in most cases) | Continuous control, no timing pressure at the flare, airplane lands aligned and drift-free | Requires holding the slip through the whole approach (CFI workload) | Tricycle trainers (Cessna 172, Piper Cherokee, Diamond DA40) |
| Crab, fly the approach crabbed, kick out at the flare | Larger airplanes where wing-low would scrape engines/pods; comfort on long final | Comfortable approach (passengers, fuel sloshing); no cross-controlled fatigue | Timing-critical kick-out at the flare, leaves no margin for error | Swept-wing transports (737, A320); some twins |
| Crab-to-Slip Transition | Combines comfort of crab with stability of slip | Best of both: comfortable approach + stable touchdown | Requires more skill, student must transition mid-flare without rolling off centerline | Larger GA, light twins, transition trainers |
| Wheel Landing (Tailwheel) | Tailwheel airplanes in crosswind | The mains touch first with the tail still flying; allows wing-low technique | Requires precise sight picture; full-stall landing in crosswind risks ground loop | Tailwheel airplanes (Citabria, Cub, Husky) |
For the tricycle-gear trainer your student is sitting in, wing-low is the method to teach first and the method they should default to. Crab exists because larger airplanes can’t bank without scraping engine pods. Your student isn’t flying that airplane. Teach the simpleness (slip the whole approach) and they’ll have the foundation to learn crab+kick later if they ever need to.
A note for the few who’ll ask about tailwheel: the wheel-landing technique in a crosswind is the same wing-low slip held into touchdown. The mains touch first with the tail still flying, then the tail comes down as the airplane decelerates. The principle is identical. The execution is harder because the airplane is less stable in yaw on the ground. Tailwheel crosswinds get their own dedicated coverage. Here, the principle is what carries over.
When Should a CFI Take the Controls? (The Right-Seat Decision Tree)
This is the section the SERP doesn’t have. Other articles teach the technique. None of them teach the decision.
The default rule first: when in doubt, go around. The go-around is free. The runway excursion isn’t. If you find yourself debating whether to take it, you’ve already answered the question. Take it, go around, fly the lesson over.
The decision tree. Three triggers. When any one is hit, the CFI takes the controls.
| Trigger | What it looks like | Right-seat call |
|---|---|---|
| Runway alignment failure | The longitudinal axis is more than ~30° off the runway centerline below 100 AGL and the student isn't correcting | "I have the airplane. Going around." |
| Sink rate spike | The airplane is descending more than ~700 fpm below 200 AGL and the student is still pulling on the yoke | "I have the airplane. Going around." |
| Control reversal | The student has the controls cross-controlled in the wrong direction (aileron downwind, rudder upwind) and the airplane is diverging | "I have the airplane. Going around." |
Say it clearly. “I have the airplane.” No hedging. No “uh.” No “want me to take it?” The takeover is a positive transfer of controls. The student needs to know unambiguously who is flying. Then you fly the go-around. Clean. Centerline. Climb out. Pattern altitude.
In the debrief: never frame the takeover as a failure. “I took it because [trigger]. You weren’t wrong, you were behind. Here’s what we’ll do at altitude before we try this again.” The takeover is a decision the CFI is paid to make. The student doesn’t lose anything from it. They gain a lesson about what the airplane was about to do and why the right answer was to stop flying it.
Two anecdotes, both honest, both load-bearing.
The day I took it. Late dual block with a PPL student in Homer one summer evening. Strong crosswind from the right, gusting. Approach was holding together. At thirty AGL the student let the upwind wing rise (fully level) and the airplane started drifting toward the downwind edge of the runway with the nose still aligned. He didn’t move the controls. Three seconds. I called “I have the airplane”, brought the wing back down, kicked rudder, flew the go-around. On the ground he said “I froze.” I said “Good, you knew you were frozen. That’s the first half. The second half is the slip we’re going back to altitude to rebuild.” We flew the at-altitude drill for forty minutes. Next pattern, he landed the airplane.
The day I should have taken it but didn’t. Different student, different airplane, different airport. Approach went sideways at the flare. The student crossed the controls the wrong way: aileron downwind, rudder upwind. The airplane skipped sideways on the upwind main, bounced, settled. Nobody hurt. No damage. But the debrief was honest: “I should have taken it at the reversal. I didn’t because I wanted to see if you’d catch it. That was the wrong call. Next time I see that reversal, I’m taking the airplane.” That’s the worst kind of takeover, the one you delay because you want to let the student figure it out. The student needs to feel the chain. They don’t need to break the airplane.
The job is to coach first. Take controls last. But when the trigger is stacked (alignment, sink rate, or reversal), take it without apology. The takeover is a decision the CFI is paid to make.
Common Student Errors on Crosswind Landings

Errors aren’t problems to fix. They’re data. Each of these reveals a specific gap in the student’s coordination, and gives you the material for the next demo. The framing (“feet first”) comes from Dan K. Dyer’s 2010 AOPA piece on teaching crosswinds, and it’s the right industry standard for the rudder-leads-aileron sequence. I’ve extended it here with the right-seat coaching response for each error.
1. Not enough rudder to keep the nose aligned. Reveals: the student is treating rudder as a secondary control instead of the primary alignment tool. They’re banking and hoping the rudder follows.
- What to say: “Feet first. Rudder makes the nose go where you want it; aileron just stops the drift.”
- What to demonstrate next: a wing-low slip with deliberately aggressive rudder, showing how rudder immediately changes nose position while aileron lag is visible.
- Debrief prompt: “When you saw the nose swing downwind, what hand did you reach with?”
2. Letting the wing rise on the upwind side. Reveals: the student is fighting the bank instead of holding it. They’re scared of “too much bank” near the ground, afraid the wingtip will strike.
- What to say: “The bank IS the drift correction. If the airplane is drifting, you don’t have enough bank. Hold it.”
- What to demonstrate next: a wing-low approach with deliberately steep bank into the wind to show the geometry doesn’t actually put the wingtip in danger.
- Debrief prompt: “What were you watching when the wing rose?”
3. Flat touchdown, both mains at once. Reveals: the student leveled the wings in the flare instead of holding the slip through touchdown. The most common technique error, and the most common gear-load damaging error.
- What to say: “Land on the upwind main first. Hold the slip through touchdown. Don’t release the controls at the flare.”
- What to demonstrate next: a wing-low landing with exaggerated upwind-main-first technique, calling out “wing low, opposite rudder, hold it” through touchdown.
- Debrief prompt: “Which wheel touched first?”
4. Releasing the controls during rollout. Reveals: the student treats touchdown as “done.” But the wind is still pushing the airplane sideways, and now the rudder is the only thing keeping the nose straight.
- What to say: “Aileron deflection increases as you slow down. The wind doesn’t stop when you touch the ground.”
- What to demonstrate next: a rollout where the CFI exaggerates the aileron-increase-with-deceleration technique. Yoke deflecting further into the wind as the airplane slows.
- Debrief prompt: “When did your hands relax on the yoke?”
The pattern across all four errors: the student is processing a procedure when they should be reading the airplane. The fix is rarely “more procedure.” The fix is usually back to altitude. The at-altitude drill rebuilds the coordination. The runway is where you find out if the rebuild worked.
Maximum Demonstrated Crosswind Component (And Why “Demonstrated” Doesn’t Mean “Limit”)
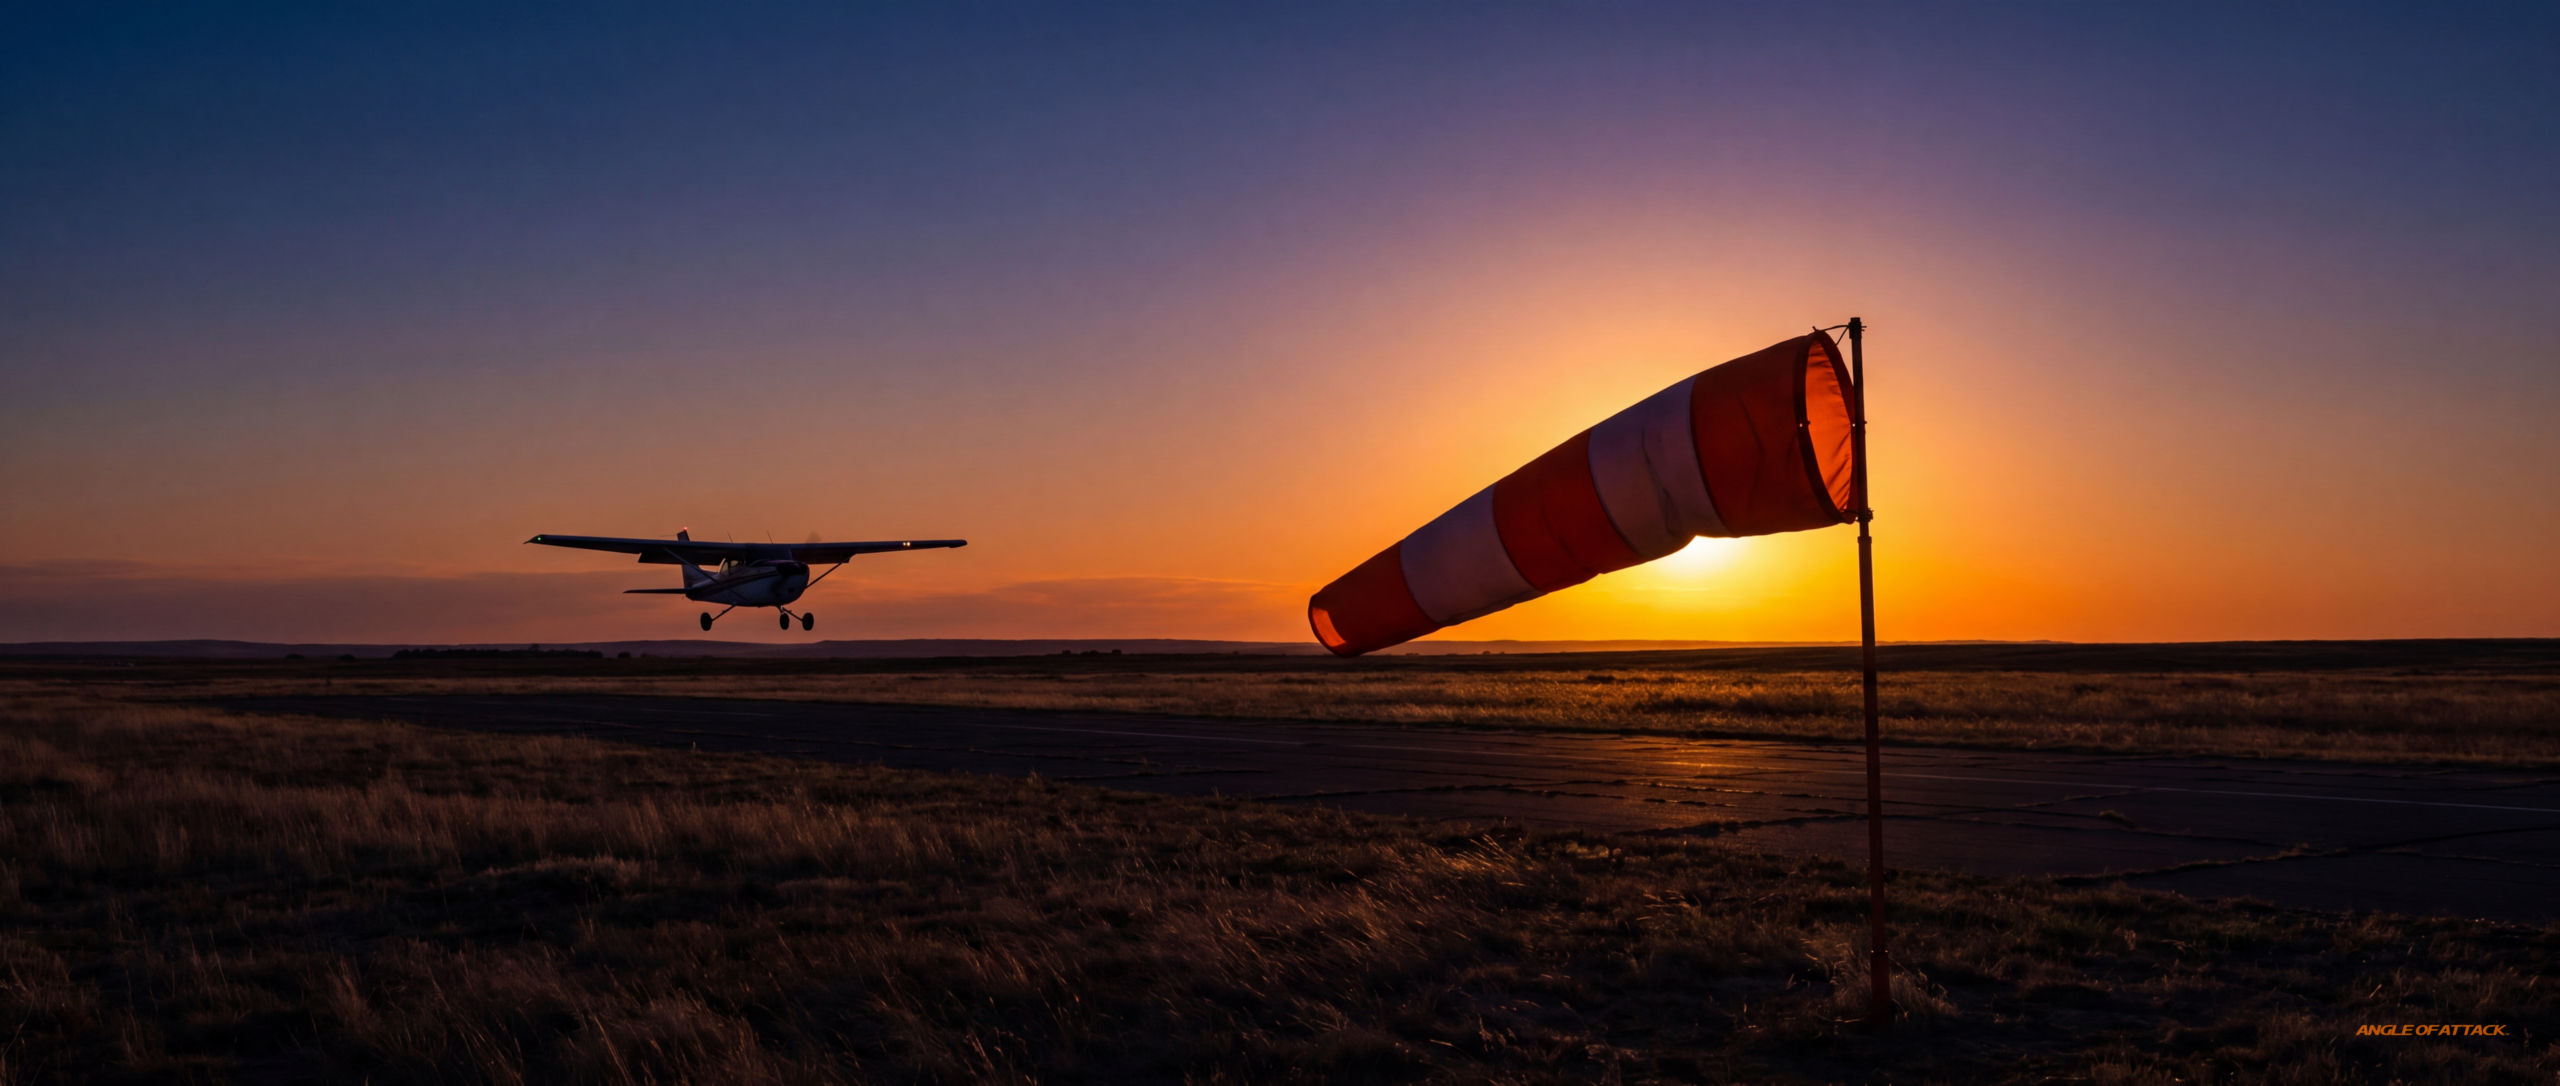
The Cessna 172S POH publishes a maximum demonstrated crosswind component of 15 knots. That number gets misquoted as a “limit” more often than any other airplane spec in primary training.
Here’s what the AFH actually says, Chapter 9, on the demonstrated value: “It is imperative that pilots determine the maximum crosswind component of each airplane they fly and avoid operations in wind conditions that exceed the capability of the airplane.” That’s the regulatory text. “The capability of the airplane,” not “the demonstrated number.” The demonstrated value is the wind Cessna’s test pilots demonstrated controllability in during certification, on a smooth day, in a clean airplane, with a professional crew. It’s not a regulatory limit for Part 91 personal flying. It’s an information-only data point.
The 14 CFR Part 23 certification standard is 0.2 × Vso. Airplanes are flight-tested to demonstrate satisfactory controllability in 90° crosswinds up to a velocity equal to twenty percent of the stall speed in the landing configuration. For the C172S with Vso at 40 KIAS (landing configuration — full flaps), the minimum certification requirement is 8 knots. Cessna demonstrated 15, almost double the minimum. But “almost double” doesn’t make it the airplane’s limit. It makes it the wind Cessna chose to demonstrate.
This matters for the conversation you have with your student about personal minimums. The teaching point is this: the demonstrated value is the ceiling of what’s been formally tested. Your personal minimum is below that, set by your current proficiency, the airplane’s condition, the runway, and your fatigue.
A reasonable personal-minimum conversation with a 100-hour private pilot in a 172:
“The POH says 15 knots demonstrated. That’s information, not a limit. What’s your limit right now? You’ve flown maybe ten landings in ten knots. Have you flown one in fifteen? No. Then your personal minimum today is ten knots, and that’s a smart number. As you build experience, you push it up. The day a fifteen-knot crosswind feels routine, the next number is your test.”
That’s the lesson. The wind asks the question. The pilot answers it honestly. The CFI builds the discipline to answer it honestly now so the student answers it honestly forever. For the broader risk-management framing, AOPA’s “Windy Flight Operations” is worth pointing your student to.
Where This Lives in TotalCFI (Lesson 3.3 — Find the Simpleness)
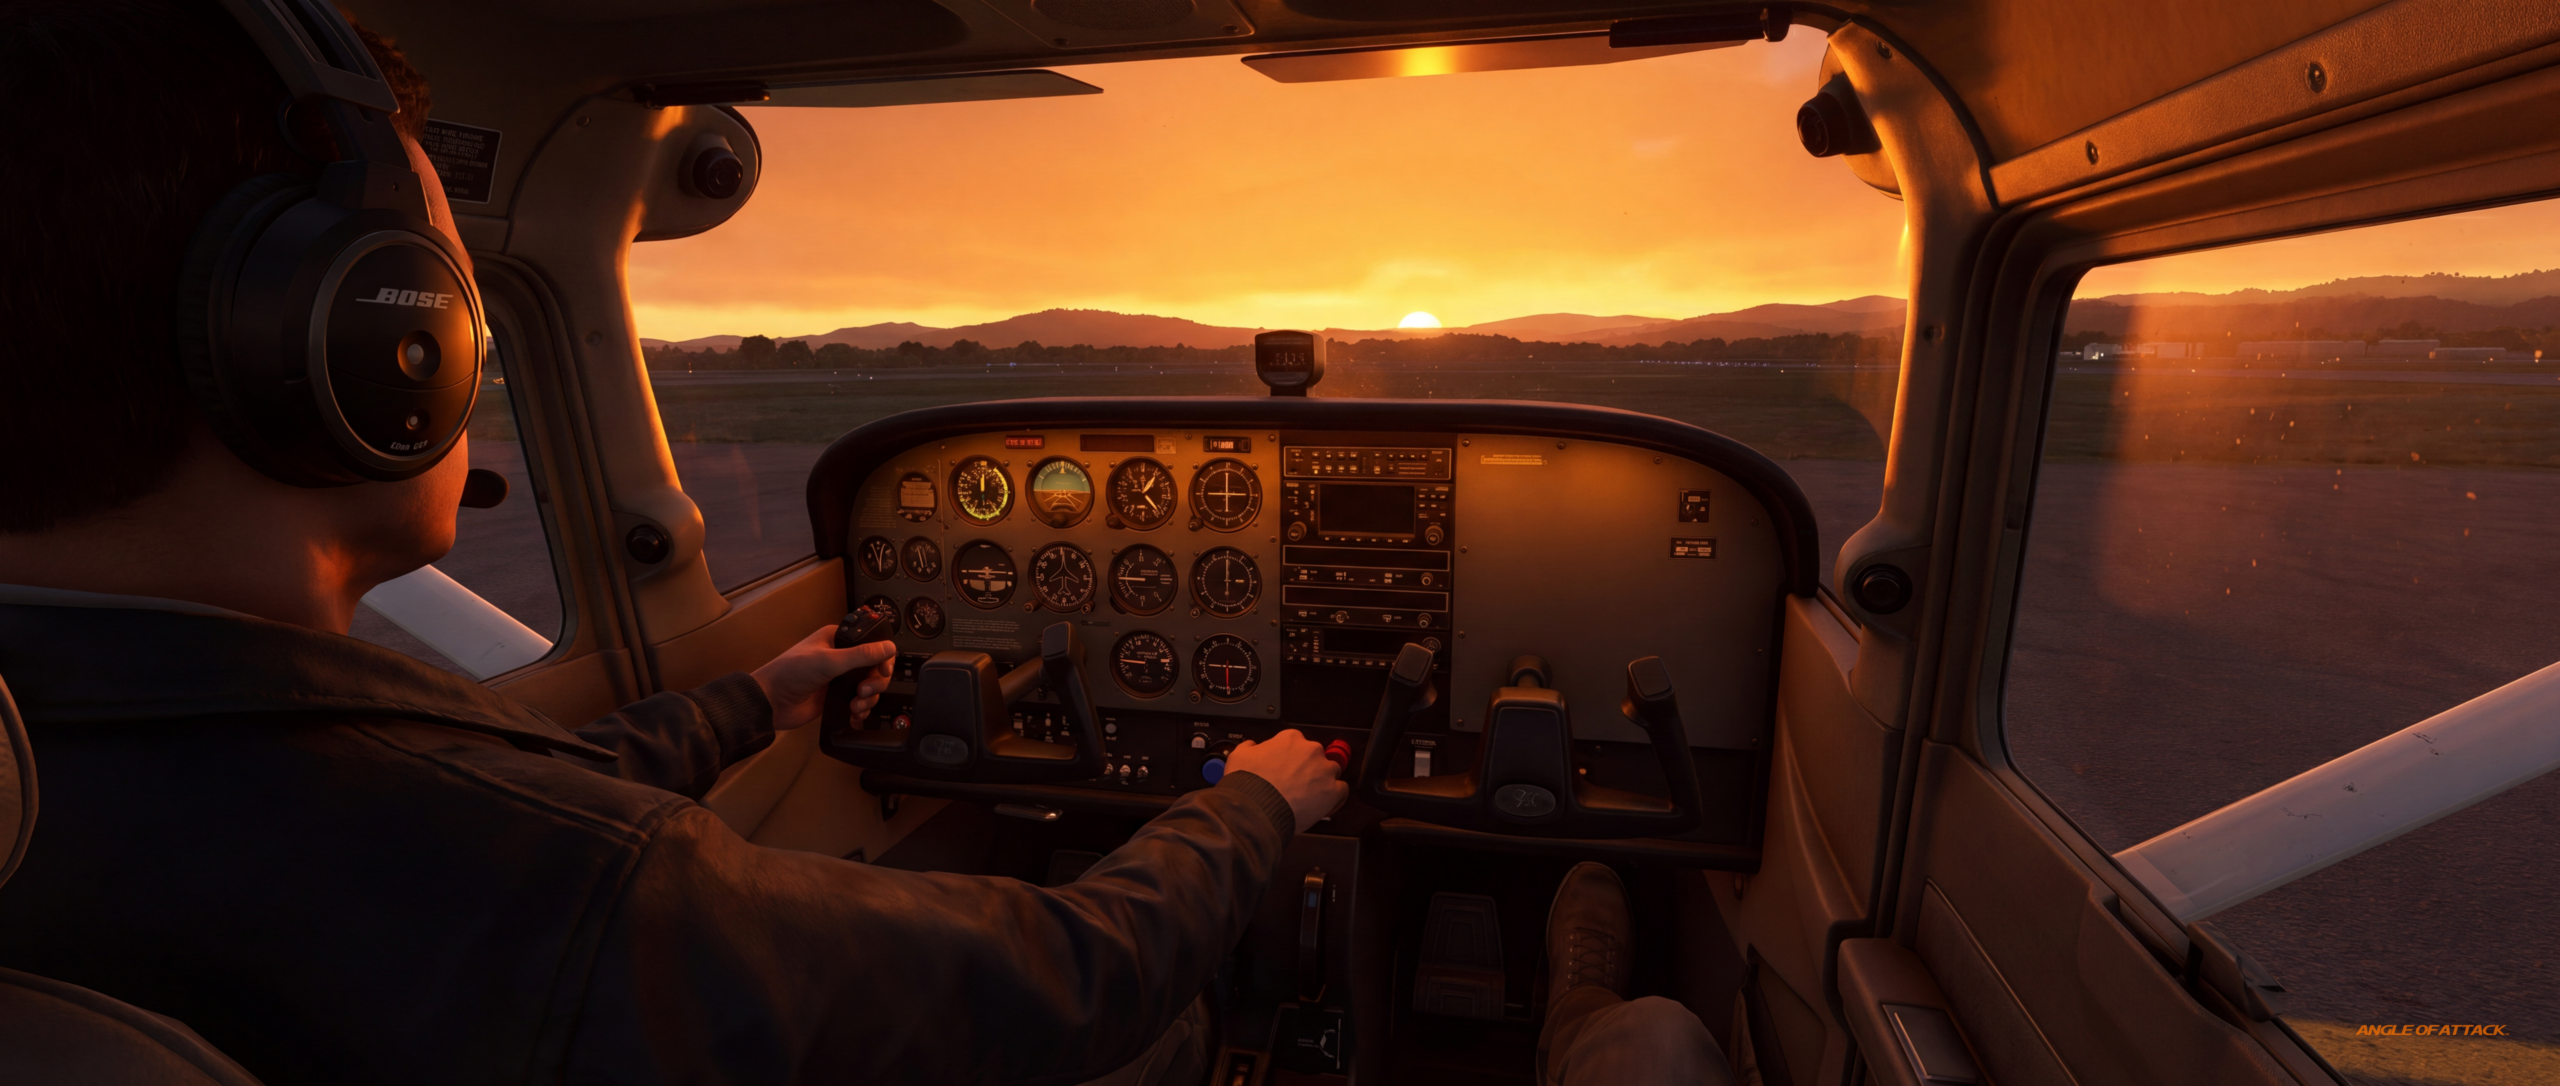
The “find the simpleness, then bring it to the runway” approach you’ve read here is the spine of TotalCFI Lesson 3.3, Find the Simpleness. The lesson takes the Six Boxes lesson plan, the at-altitude drill, the right-seat brief, and the takeover decision tree, and packages them into a teachable framework that works across crosswind, soft-field, short-field, and every other landing variation a private student will fly with you.
It’s the lesson that turns a procedure-trained CFI candidate into a coordination-trained right-seat coach. The kind of CFI a student tells their friends about three years later. Be the CFI your student will trust on final.
How do you teach a crosswind landing from the right seat?
Brief the scenario, not the procedure. Fly the at-altitude drill first to build coordinated cross-controls at 3,000 feet before the runway environment adds pressure. Demo one clean approach at the runway, narrating the slip-to-touchdown transition. Hand the controls and coach with one finger and three words (“ball,” “centerline,” “wing”). Debrief on one question: “When did the wing rise on the upwind side?”
What’s the difference between the slip and crab methods?
The wing-low (sideslip) method holds a continuous cross-controlled slip from final all the way through touchdown: aileron into the wind, opposite rudder to keep the nose straight. The crab method flies the approach with the airplane crabbed into the wind so the ground track stays on centerline, then “kicks” the longitudinal axis aligned with the runway right before touchdown. The FAA recommends wing-low in most cases for GA. Crab is standard for swept-wing transports where wing-low would scrape engine pods.
How do you practice crosswind landings safely?
Use the at-altitude drill pioneered by SAFE. Climb to 3,000 AGL and progress through six steps: rudder control at approach speed, rudder boxing, slip practice with bank and opposite rudder alternating sides, Dutch rolls near stall speed, low centerline slow flight along an inactive runway, then full crosswind landings. The student builds coordinated cross-controls before the runway environment adds pressure.
What’s the maximum demonstrated crosswind component for a Cessna 172?
15 knots, per the C172S POH Section 2. The Airplane Flying Handbook (FAA-H-8083-3C Chapter 9) explicitly says this is not a limit. It’s the wind Cessna demonstrated during certification testing. For personal flying under Part 91, the demonstrated value is information, not regulation. Your personal minimum is below the demonstrated value and set by your current proficiency.
What are common student errors on crosswind landings?
Four patterns: (1) not enough rudder to keep the nose aligned, the student is banking and hoping rudder follows; (2) letting the upwind wing rise, the student is fighting the bank instead of holding it; (3) flat touchdown with both mains at once, the student leveled the wings in the flare instead of holding the slip through touchdown; (4) releasing the controls in rollout, the student treats touchdown as “done” while the wind is still pushing.
When should a CFI take the controls during a crosswind landing?
Three triggers. Take controls when any one is hit: (1) runway alignment failure, longitudinal axis more than 30° off centerline below 100 AGL with the student not correcting; (2) sink rate spike, descending more than 700 fpm below 200 AGL with the student still pulling; (3) control reversal, student cross-controlled in the wrong direction and airplane diverging. Default rule: when in doubt, go around. The go-around is free.
Which method does the FAA recommend for crosswind landings?
The wing-low (sideslip) method, in most cases, per FAA-H-8083-3C Chapter 9. Direct quote: “The wing-low method is recommended in most cases, although a combination of both methods may be used.” For tricycle-gear trainers like the Cessna 172, Piper Cherokee, and Diamond DA40, wing-low is the method to teach first and the method students should default to.
How long should a crosswind landing lesson last?
About 2.0 hours total. Ground brief 20-30 minutes covering slip mechanics and the at-altitude drill plan. Flight 1.0-1.3 hours covering the at-altitude drill plus five to eight pattern circuits with varying crosswind component. Debrief 20-30 minutes anchored on the wing-rise question. Don’t push past the student’s ability to hold a slip cleanly in slow flight. That’s the gating skill for the runway environment.
If the CFI checkride is keeping you up at night, you're prepping for the wrong thing.
TotalCFI teaches you to walk into the oral as a teacher, not a test-taker — the reframe most candidates only figure out after they've already failed once.
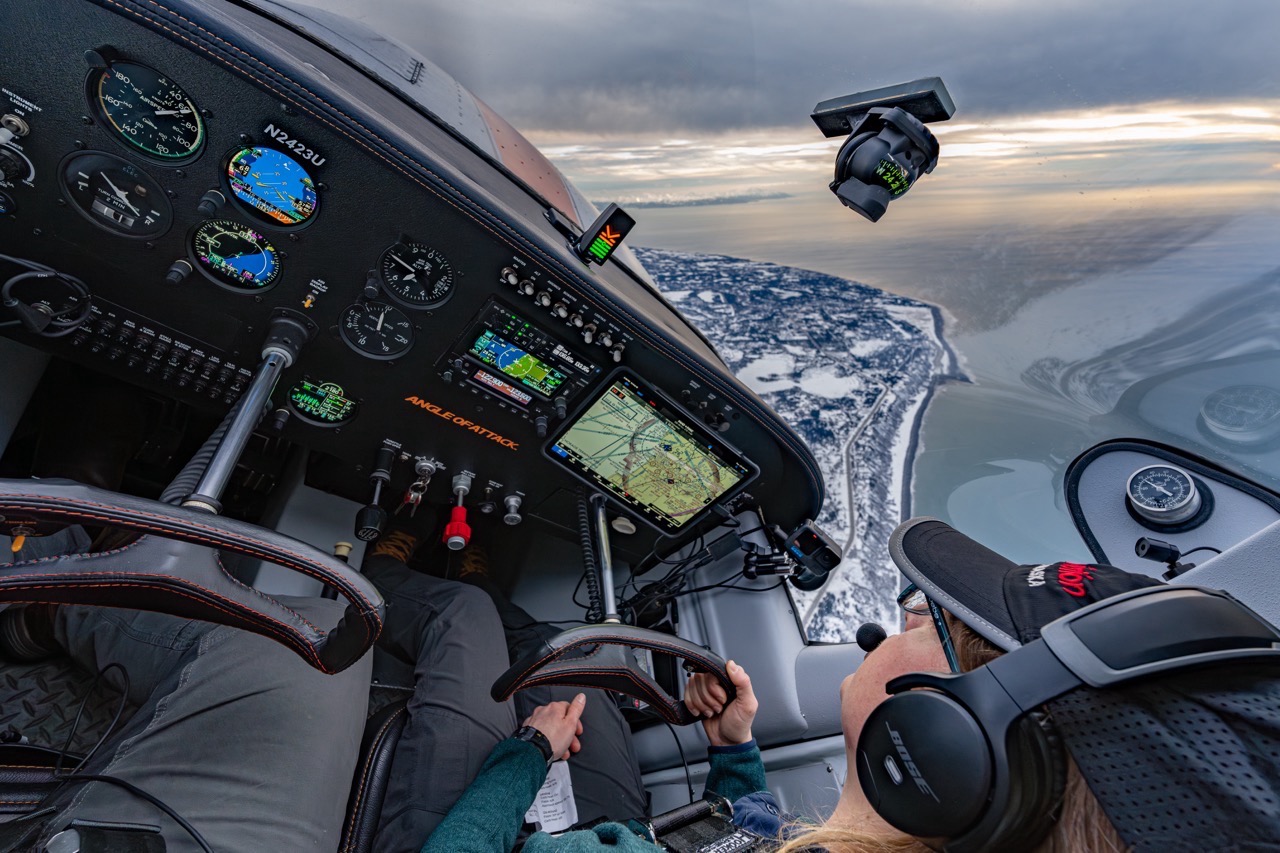
What’s the toughest thing you’ve run into teaching crosswind landings? The student who centered the controls in the flare every time? The CFI candidate who couldn’t break the habit of grabbing the yoke too soon? Drop a comment below. I read every one.