How to Teach Eights-on-Pylons: The Pivotal-Altitude Maneuver from the Right Seat
 over a ground reference at sunset — Angle of Attack how to teach eights-on-pylons" />
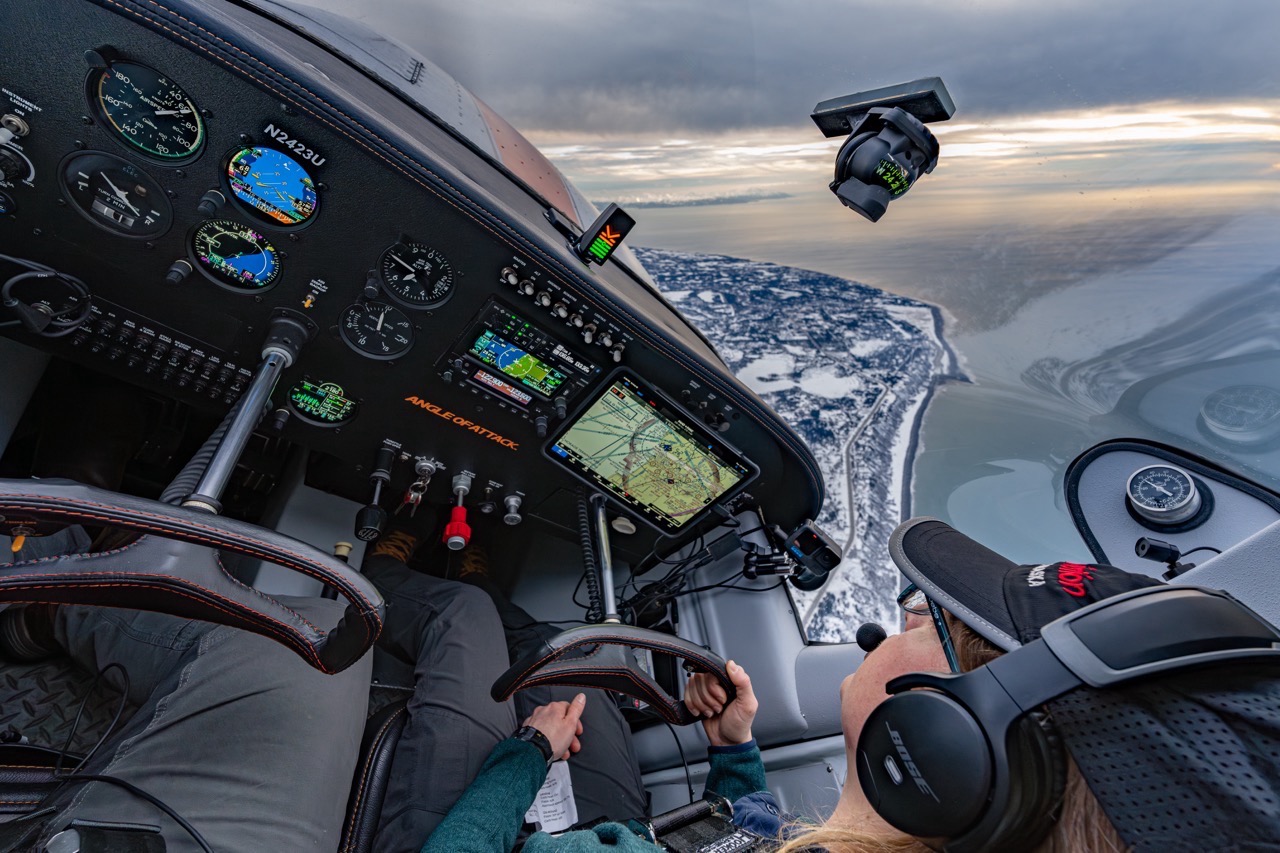
Eights-on-pylons is the only commercial maneuver where the airplane’s altitude isn’t yours to pick. The physics picks it (Groundspeed² ÷ 11.3), and your job as the CFI is to make the student stop fighting and let the airplane fly the maneuver. Every student wrestles it the first time. They chase altitude with the elevator. They stare at the pylon instead of the wingtip. They try to do the math mid-flight. I’m Chris Palmer, two-time Master Aviation Educator, Gold Seal CFI, founder of Angle of Attack. The first commercial student I ever flew clean eights-on-pylons with said something to me at 700 feet over a central-valley farm road that changed how I teach the maneuver. Here’s how to do it right.
- Pivotal altitude depends only on groundspeed, not bank angle or distance from the pylon. The formula is
Pivotal Altitude (ft AGL) = Groundspeed² ÷ 11.3for knots, or÷ 15for mph. At 90 kt, that’s about 717 ft AGL; at 100 kt, about 885 ft AGL. - The current ACS task numbers are Area V, Task E for the Commercial ACS (FAA-S-ACS-7B) and Area IX, Task F for the CFI Initial ACS (FAA-S-ACS-25). The legacy PTS used X-D. That’s outdated.
- The bank cancels out of the math. That’s the counter-intuitive headline most students miss. From
tan φ = h/randr = V²/(g·tan φ), the tan φ cancels and you’re left withh = V²/g. - Most CFI candidates teach the math and skip the surrender. Eights-on-pylons is the one maneuver in the commercial syllabus where the pilot has to stop forcing the airplane and trust the physics. That’s the teaching gift hiding inside the maneuver.
- The right-seat fix for the single biggest student error is one sentence: “Eyes on the wingtip. Use peripheral vision for the pylon.” This sentence solves more eights-on-pylons errors than any other coaching cue.
The CFI Toolkit Every New Instructor Wishes They Had on Day One
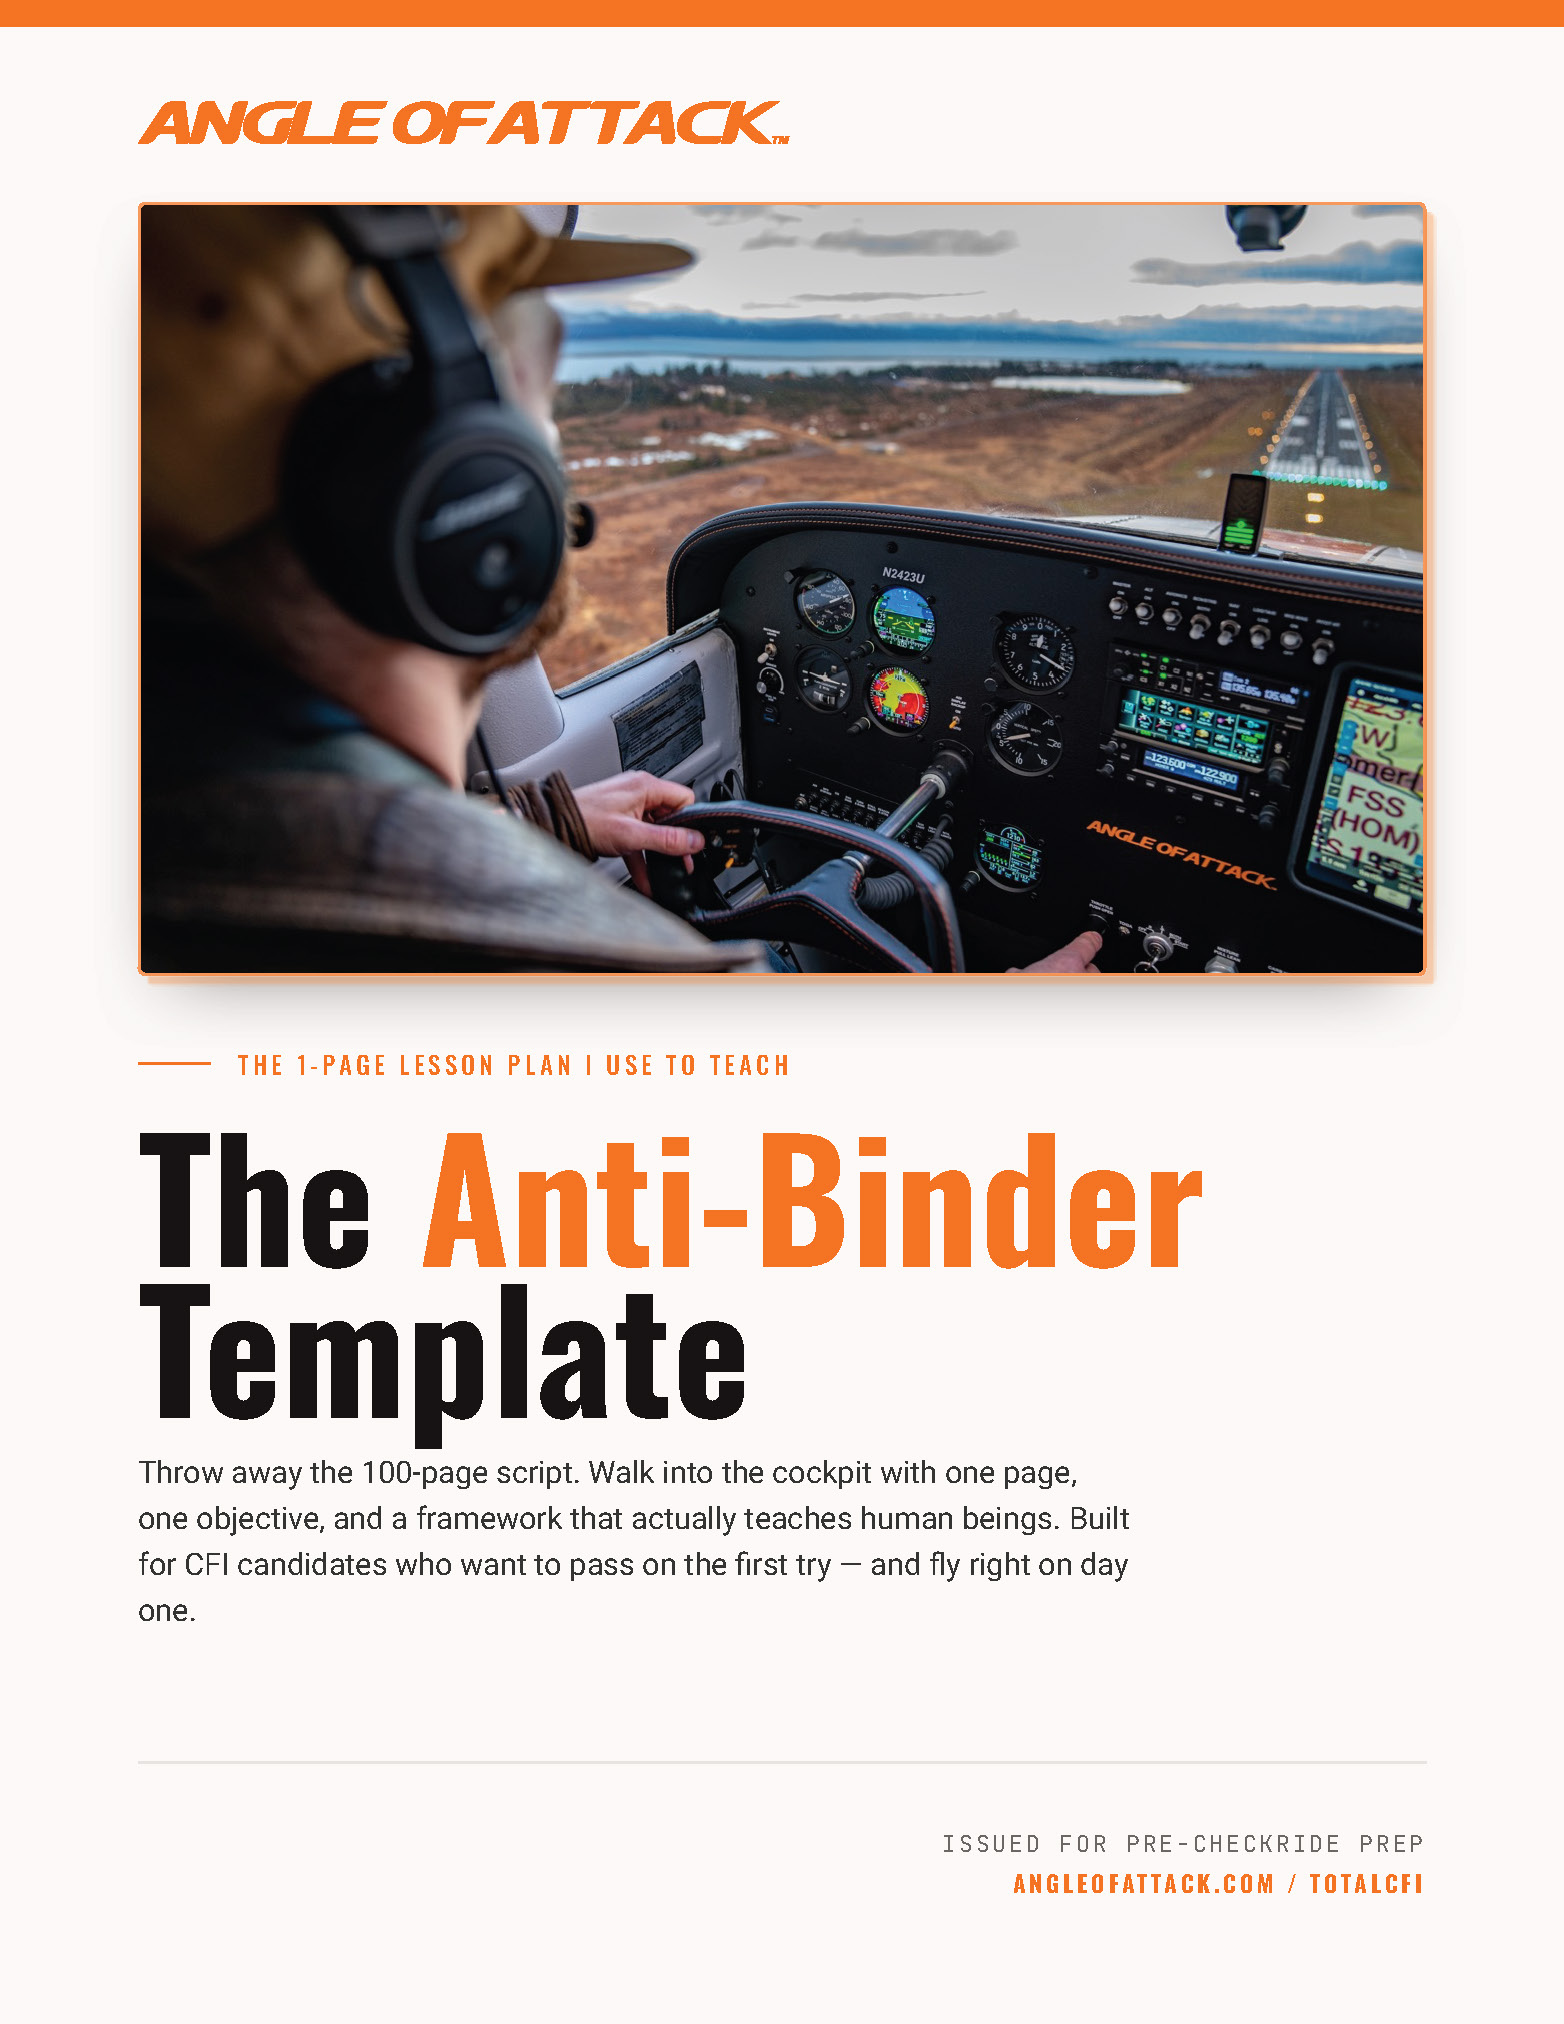
Most new CFIs build their teaching system from scratch: a binder of borrowed lesson plans and scattered notes. The Anti-Binder Template is the one-page framework I use to plan every lesson, including the commercial-maneuvers block. Same scenario-first shape. Same Day-One focus.
Grab the Anti-Binder Template — Free →
Walking into your first lesson with a 50-page binder won't help you.
Get my Anti-Binder One-Page Lesson Plan Template free — the lesson plan tool I built for CFI candidates who want to be ready Day 1.
Get the Anti-Binder Template Free
WHAT'S IN THIS GUIDE
- 1What Eights-on-Pylons Actually Demonstrate (And Why Students Hate Them at First)
- 2What’s the Formula for Pivotal Altitude?
- 3Find the Simpleness — “The Airplane Flies Itself. You Pick the Altitude.”
- 4The One-Page Lesson Plan for Eights-on-Pylons (Six Boxes Applied)
- 5How to Teach Eights-on-Pylons from the Right Seat
- 6Eights-on-Pylons vs Eights-Around-Pylons — The Comparison the Student Needs
- 7Eights-on-Pylons ACS Standards (Commercial — Area V Task E; CFI Initial — Area IX Task F)
- 8Common Student Errors on Eights-on-Pylons (And What to Say When You See Them)
- 9Where This Lives in TotalCFI (Lesson 3.4 — Scenario-Based Training)
- 10Frequently Asked Questions
What Eights-on-Pylons Actually Demonstrate (And Why Students Hate Them at First)

The first time a commercial student flies eights-on-pylons, they hate it.
They’ve spent two hundred hours fighting the airplane: chasing altitude with the elevator, wrestling pitch in steep turns, forcing the airplane to do what the maneuver demands. Eights-on-pylons inverts that whole relationship. They pick the pylon. The pylon and the groundspeed set the altitude. Their job is to hold the wingtip on the pylon and let the airplane fly the maneuver. Most students cannot accept that. They keep grabbing the yoke, fighting the altitude they’re supposed to be trusting, and the maneuver falls apart in the first turn.
FAA-H-8083-3C, Chapter 7, the Airplane Flying Handbook chapter on ground reference maneuvers, frames eights-on-pylons this way: the airplane is flown at such a precise altitude and airspeed that a line parallel to the airplane’s lateral axis, extending from the pilot’s eye through the wingtip, appears to pivot on each pylon. That’s the geometry. The teaching content underneath that geometry is something the handbook can’t quite say out loud. This is the only commercial maneuver where you have to surrender.
The intent is division of attention. The FAA wants the commercial pilot to be able to maneuver the airplane accurately while simultaneously tracking outside references. Eights-on-pylons is considered the most advanced ground reference maneuver, unmatched for teaching, developing, and testing subconscious airplane control. The student who masters it isn’t memorizing a procedure. They’re learning to fly the airplane and watch the world at the same time, without conscious attention to either.
The first commercial student I ever flew clean eights-on-pylons with did it on a long summer afternoon over California’s central valley. Flat farmland, light wind, a road intersection and a silo a comfortable distance apart. He’d busted three previous attempts the same way every time: pylon fixation, altitude swing, lost the figure-eight. On the fourth pass, somewhere around the second pylon, he said it out loud: “I’m watching the pylon, the airplane is flying itself.” That was the moment I knew the simpleness had landed. The maneuver wasn’t hard anymore. He’d stopped fighting.
That’s the lesson hiding inside the maneuver, and it’s why students hate them at first. You can’t force eights-on-pylons. You can only set the conditions and trust the physics.
What’s the Formula for Pivotal Altitude?
Pivotal altitude (feet AGL) equals your groundspeed squared, divided by 11.3 for groundspeed in knots. For groundspeed in mph, divide by 15. At 90 knots: 90² = 8,100; 8,100 ÷ 11.3 ≈ 717 feet AGL. At 100 knots: ≈ 885 feet AGL. The formula assumes coordinated level flight at constant airspeed.
That’s the answer block. Here’s the worked table you put on the kneeboard before the flight:
| Groundspeed (kt) | GS² | ÷ 11.3 | Pivotal Altitude (ft AGL) |
|---|---|---|---|
| 80 | 6,400 | 566 | ~566 ft |
| 90 | 8,100 | 717 | ~717 ft |
| 100 | 10,000 | 885 | ~885 ft |
| 110 | 12,100 | 1,071 | ~1,071 ft |
| 120 | 14,400 | 1,274 | ~1,274 ft |
A Cessna 172 at typical commercial maneuvering airspeeds will live somewhere between 700 and 900 feet AGL through this maneuver. Faster aircraft fly higher pivotal altitudes. A Cirrus SR22 at 130 kt is up around 1,500 feet.
Why Pivotal Altitude Depends Only on Groundspeed
Here’s the part every AOPA and Wikipedia article gives you the math for and then walks away from. The derivation matters, because it’s where the “surrender” comes from.
Pivotal altitude depends only on groundspeed because the bank angle cancels out of the math.
Start with two equations any commercial pilot already knows. The first is the level-turn radius equation from basic flight mechanics:
r = V² / (g · tan φ)
where r is the turn radius, V is groundspeed, g is gravitational acceleration (32.2 ft/s²), and φ is the bank angle. The second is straight geometry. If the pilot’s wingtip line-of-sight stays on a fixed ground point throughout the turn, the line from the airplane to the ground point sweeps out a cone with the airplane at the apex. The half-angle of that cone equals the bank angle. By right-triangle geometry:
tan φ = h / r
where h is the altitude above the pylon. Substitute the radius equation into the geometry:
tan φ = h / (V² / (g · tan φ))
Multiply both sides by V² / (g · tan φ):
tan φ · V² / (g · tan φ) = h
The tan φ cancels. What’s left is the cleanest equation in basic aerobatics:
h = V² / g
The bank dropped out. An airplane in a 60° bank close to the pylon needs the same pivotal altitude as an airplane in a 30° bank farther away. Bank changes radius. Groundspeed sets altitude. That’s the physics. (Wikipedia confirms the derivation; the engineering walkthrough is at Charles O’Neill, Eights on Pylons: Physics and Limitations.)
Where does the 11.3 come from? It’s the unit conversion. Groundspeed in knots converts to feet per second by multiplying by 1.6878. Square that conversion (1.6878² ≈ 2.849), divide by g (32.2), and you get 2.849 / 32.2 ≈ 0.0885, which is 1 / 11.30. So:
h (feet) = GS_knots² / 11.30
For mph, the same arithmetic gives a divisor of 14.96, rounded to 15. No magic. It’s the conversion factor from knots-squared to gravitational-feet.
The reason this matters in the right seat: when the student finally sees that bank angle is not part of the equation, they stop trying to control altitude with their angle of attack. They start trusting the airplane to find the altitude itself. That’s the gateway to the maneuver.
Find the Simpleness — “The Airplane Flies Itself. You Pick the Altitude.”

Every TotalCFI lesson lives or dies on one thing. What I call the simpleness. The one sentence the student carries home in their head. The thing they’ll remember when the maneuver gets fuzzy three months from now and they’re cleaning it up for the checkride.
For eights-on-pylons, the simpleness is exactly this:
The airplane flies itself at pivotal altitude. Your job is to pick the altitude. Then get out of the airplane’s way.
That’s the entire teaching philosophy compressed into a sentence. The pre-flight brief, the in-flight demo, the debrief: all of it converges on getting the student to that surrender. The whole maneuver is a physics machine that wants to work. The pilot’s job is to set the inputs (pylon selection, pivotal altitude, trim) and then trust the airplane.
Most commercial maneuvers reward forcing. Steep turns reward back-pressure timing. Lazy eights reward smooth-and-coordinated muscle inputs. Chandelles reward an aggressive pitch profile. Eights-on-pylons reward surrender. That’s why students who’ve gotten good at fighting the airplane have the hardest time with it. They have to learn a different relationship with the controls, one that’s closer to listening than to driving.
That surrender is the doorway to Restorative Airmanship. The airplane wants to fly itself. Your job, as the pilot, is to set the conditions and trust the physics. Teach a commercial student that, and you’ve taught more than a maneuver. You’ve taught them a way of being in the cockpit they’ll carry into every flight for the rest of their life.
The One-Page Lesson Plan for Eights-on-Pylons (Six Boxes Applied)
This is the Anti-Binder six-box lesson plan filled out for eights-on-pylons. One page. No appendix. Everything a new CFI needs to walk into the brief and run the lesson.
| Box | Content |
|---|---|
| 1. Objective | Student demonstrates eights-on-pylons to Commercial ACS Area V Task E standards: determines approximate pivotal altitude, selects suitable pylons, maintains the wingtip line-of-sight on each pylon throughout the turn, bank not to exceed 40°, divides attention between airplane control and outside references, avoids slips and skids. |
| 2. Completion Standard | Wingtip line-of-sight reference remains on the pylon throughout each turn. Bank ≤ 40°. Coordinated flight (ball centered). Pylons selected on a line perpendicular to the wind, with 3-5 seconds of straight-and-level flight between them per FAA-H-8083-3C Chapter 7 (the ACS does not specify a numeric distance). CFI teaching target (not an ACS-specified tolerance): pivotal altitude held within ±50 ft of the computed value for the groundspeed on that side of the figure eight. |
| 3. The One Thing | The airplane flies itself at pivotal altitude. Pick the altitude. Then surrender. |
| 4. Common Errors + Right-Seat Corrections | Fixating on the pylon → "Eyes on the wingtip, peripheral vision for the pylon." Chasing altitude with the elevator → "Trim hands-off at pivotal altitude. Don't grip." Forgetting to recalculate for groundspeed shift → "Two pivotal altitudes on the kneeboard, one for each side." Picking pylons too close or too far → "Three to five seconds of straight-and-level between them. About three-quarters of a mile in a 172." |
| 5. Teaching Sequence | (1) Pre-Flight Brief: calculate two pivotal altitudes on the whiteboard. (2) In-Flight Demo: fly one figure eight while narrating what the airplane is doing. (3) Student-Flown Attempts: coach with one-word cues; hands off the controls. (4) Debrief: ask the one question. |
| 6. Debrief Prompt | "What happened when your groundspeed changed?" The single question that locks in the physics. |
This template doesn’t change between commercial maneuvers. Only the content changes. Same six boxes. Same one page. That’s the Anti-Binder method.
How to Teach Eights-on-Pylons from the Right Seat

Four steps. Same four for every commercial student. The structure doesn’t change; the airplane doesn’t change; only the wind on the day changes the numbers.
The Pre-Flight Brief
Get to the whiteboard before you get to the airplane. Calculate two pivotal altitudes: one for the headwind side of the figure eight, one for the tailwind side. Pick your pylons on a sectional or ForeFlight before you fly, on a line perpendicular to the forecast wind. Spacing: roughly three-quarters of a mile in a 172 (common teaching standard for a 172), or what AOPA’s 2021 technique article calls “approximately one mile” in practice. Either number gives you three to five seconds of straight-and-level flight between pylons, which is the AFH principle.
Write both pivotal altitudes on the kneeboard before takeoff. Both numbers. Both sides.
I had a commercial student years ago, sharp, focused, math major, try to recalculate pivotal altitude in the airplane mid-maneuver as the wind picked up. He saw the wingtip start to slip, did the math in his head while the airplane was banking around the first pylon, lost the pylon entirely, busted altitude by 200 feet, and ran out of bank trying to recover. The fix was the same fix it’s always been. Do the math on the ground for the two groundspeeds you’ll see. Write them on a kneeboard. Fly the airplane. You can’t think and fly at the same time at 800 feet AGL in a 40° bank. The math belongs on the ground.
The In-Flight Demo
Climb to the higher of your two pivotal altitudes plus a few hundred feet of buffer. Slow to maneuvering speed. Trim for hands-off level flight at the pivotal altitude itself. Enter the maneuver from a 45° angle to one of the pylons, at the appropriate altitude for your entry groundspeed.
Then narrate in real time. Out loud. Every input.
“Wingtip’s on the pylon. I’m trimmed. Hands are off the elevator. Watch how the altitude is finding itself. The airplane is doing the work. I’m only using rudder to keep coordinated, and the bank is whatever the pylon asks for. There. Wingtip’s starting to slip behind. That means we’re a little high. I’m easing back pressure off, not pushing, just releasing. Watch the wingtip come back to the pylon. Good. Now we’re crossing through center, heading toward the second pylon. Groundspeed’s about to drop because we’re turning into the wind, so I’m dropping a few feet of altitude to match. Wingtip stays on the pylon.”
AOPA’s “tether” visualization helps here: imagine a rope running from the lateral axis of the airplane down to the pylon. The rope stays taut throughout the turn. That’s the picture.
Verbalize the corrections as they happen. Silent demos teach nothing. The student needs to hear what you’re doing and why before they’re asked to do it themselves.
The Student’s Attempt
Hand off the controls with the standard “your airplane” exchange. Set expectations: “I won’t take the controls unless you ask. I’ll coach with one-word cues. Fly the airplane.”
The single most important thing you’ll say during the first attempt is one sentence:
“Eyes on the wingtip. Use peripheral vision for the pylon.”
That sentence, alone, solves more first-attempt errors than any other coaching cue. Students lock their eyes on the pylon, and the moment they do, the airplane disappears from their attention. Altitude swings. Bank goes wild. Coordination goes out the window. Get their eyes on the wingtip with the pylon in peripheral vision, and most of the maneuver corrects itself.
After that, three more one-word cues handle nearly everything else:
- “Trim.” When you see them gripping the yoke trying to hold altitude.
- “Rudder.” When the ball starts to slide.
- “Wingtip.” When their eyes drift back to the pylon.
That’s it. One sentence to set the picture. Three cues to maintain it. Then you let the airplane teach.
The Debrief
After the third or fourth attempt, back on the ground, the lesson is won or lost on a single question.
“What happened when your groundspeed changed?”
That’s the one question that locks in the physics. The student has to articulate, in their own words, what they observed: the altitude shifting between the two sides of the figure eight, the wingtip’s relationship to the pylon, the way the airplane settled into the maneuver once they stopped fighting it. If they can answer that question, they own the maneuver. They’ll fly it on their checkride and they’ll never lose it. If they can’t answer, they need another flight before the maneuver is theirs.
That’s the formative-assessment shape from FAA-H-8083-9B, Chapter 5. Assessment as a teaching tool, not a grade. The debrief is the lesson; the flight was the data.
Eights-on-Pylons vs Eights-Around-Pylons — The Comparison the Student Needs
Students confuse these two constantly. The names sound nearly identical. The maneuvers are completely different.
| Eights-on-Pylons (Commercial) | Eights-Around-Pylons (Private, Legacy) | |
|---|---|---|
| What's held constant | Wingtip line-of-sight on each pylon | Constant ground track (radius) around each pylon |
| Altitude | Pivotal altitude (varies with groundspeed) | Constant altitude throughout |
| Radius | Varies. Physics sets it as bank angle changes. | Constant. Pilot maintains a fixed distance. |
| ACS testing | Commercial Area V Task E; CFI Initial Area IX Task F | Not on current Private ACS. Appears in AFH as an "elementary eight." |
| What it teaches | Division of attention, subconscious airplane control, surrender to physics | Wind-drift correction, basic ground-track maintenance |
When a student asks about eights-around-pylons, the simplest framing is this: eights-around-pylons is a private-pilot ground-reference exercise; eights-on-pylons is the only commercial ground-reference maneuver tested on the checkride. Same figure-eight pattern from the air. Completely different physics, completely different objective.
Eights-on-Pylons ACS Standards (Commercial — Area V Task E; CFI Initial — Area IX Task F)

The current Airman Certification Standards documents are unambiguous about what the maneuver tests. Quote the skill elements verbatim. Don’t paraphrase.
From FAA-S-ACS-7B (Commercial Pilot Airplane ACS, current with Change 1 + 2), Area of Operation V (Performance and Ground Reference Maneuvers), Task E: Eights on Pylons, the applicant must:
- Determine the approximate pivotal altitude.
- Select suitable pylons that permit straight-and-level flight between them.
- Enter the maneuver at the appropriate altitude and airspeed.
- Establish the correct bank angle for the conditions, not to exceed 40°.
- Apply corrections so the line-of-sight reference line remains on the pylon.
- Divide attention between accurate, coordinated airplane control and outside visual references.
- Avoid slips and skids throughout the maneuver.
For the CFI Initial, FAA-S-ACS-25 (Flight Instructor Airplane ACS, current) puts the same maneuver at Area of Operation IX, Task F. The CFI candidate must both demonstrate the maneuver to the same skill standards and be able to teach pivotal altitude, the wingtip line-of-sight reference, and the common-errors list to a hypothetical student. Per 14 CFR 61.183, the CFI candidate must be able to teach this maneuver from the right seat to the same skill standards a commercial candidate must demonstrate from the left.
A note on the old PTS numbering: legacy lesson plans and older CFI study materials may reference “Task X-D” for eights-on-pylons on the CFI Initial. That’s outdated. The current ACS task is IX-F. If your study materials still say X-D, they’re pre-ACS. Update them.
Worth noting: the ACS does not list a numerical altitude tolerance for pivotal altitude. The standard is “line-of-sight reference line remains on the pylon.” That’s the test. If the wingtip stays on the pylon throughout the turn, the altitude was correct by definition. That’s how the FAA writes the standard, and that’s how you should brief it.
These ACS skill elements show up live on the CFI checkride, where the examiner will ask you to teach pivotal altitude on the whiteboard before you demonstrate the maneuver.
Common Student Errors on Eights-on-Pylons (And What to Say When You See Them)

Four errors come up on nearly every first attempt. Each has a right-seat fix that’s one sentence long.
1. Fixating on the pylon. Eyes lock on the pylon, peripheral vision shuts down, airplane disappears from their attention. The result is wild altitude swings and a maneuver that falls apart in the first turn. Right-seat fix: “Eyes on the wingtip. Use peripheral vision for the pylon.”
I had a CFI candidate years ago who locked his eyes on the pylon and forgot the airplane existed. Altitude swung 200 feet over the first turn. He could not see what was going wrong because his eyes were in the wrong place. I told him exactly that: “look at your wingtip, use peripheral vision for the pylon.” On the next pass, the maneuver was clean. One sentence. That’s the entire fix.
2. Chasing altitude with the elevator. The student grips the yoke and tries to force the airplane to hold pivotal altitude. They’re treating the maneuver like a steep turn, using back pressure to hold altitude. That’s not what this maneuver wants. Right-seat fix: “Trim hands-off at pivotal altitude. Don’t grip. If the wingtip slips behind, ease back pressure off, don’t push. If it slips ahead, add a touch of back pressure. The airplane finds the altitude. Don’t fight it.”
3. Forgetting to recalculate pivotal altitude when groundspeed shifts. A figure-eight has a headwind side and a tailwind side. Groundspeed changes between them. Pivotal altitude changes with it. Students who only computed one altitude before the flight get lost when the wind affects them. Right-seat fix: “Two pivotal altitudes on the kneeboard. One for each side. Pick the right number for the side you’re on.” Don’t do the math in the airplane.
4. Picking pylons too close together (or too far apart). Too close, and there’s no straight-and-level segment between the pylons. The maneuver loses its figure-eight character. Too far, and the student has too much time to overthink the entry to each pylon. Right-seat fix: “Three to five seconds of straight-and-level between them, on a line perpendicular to the wind. About three-quarters of a mile in a 172. Pick them on the sectional before you fly. Never from the air.”
The pattern across all four errors: the student is trying to do something the airplane wants to do for them. Coaching is short, declarative, and physical. One sentence per fix. Then back to flying.
Where This Lives in TotalCFI (Lesson 3.4 — Scenario-Based Training)

Eights-on-pylons is the canonical scenario-based-learning moment in the commercial syllabus. The student doesn’t memorize pivotal altitude — they experience it. They feel the airplane find the altitude. They feel the wingtip stay on the pylon. They feel the surrender. That’s scenario-based training as the FAA defines it, and it’s why eights-on-pylons is the maneuver that produces the biggest mid-syllabus growth jump in commercial students.
I lay this out in detail in Lesson 3.4 — Scenario-Based Training (Without Overcomplicating It) inside the TotalCFI course. It’s where new CFIs learn how to design lessons that build real understanding through experience rather than recitation, using eights-on-pylons as the worked example.
The whole TotalCFI course is built so you walk out of CFI initial as a Day-One CFI, ready to teach commercial students, not just survive the checkride. That’s the difference TotalCFI is built to make.
What is the formula for pivotal altitude?
Pivotal altitude (feet AGL) equals groundspeed squared divided by 11.3 for knots, or divided by 15 for mph. At 90 knots groundspeed, pivotal altitude is about 717 feet AGL. At 100 knots, about 885 feet AGL. The formula assumes coordinated level flight at a constant airspeed.
Why does pivotal altitude depend only on groundspeed?
From the level-turn radius equation r = V²/(g·tan φ) combined with the wingtip geometry tan φ = h/r, the bank angle cancels out of the math and leaves h = V²/g. Bank angle determines turn radius (how far from the pylon you are), but altitude is set purely by groundspeed.
What’s the difference between eights-on-pylons and eights-around-pylons?
Eights-around-pylons maintains a constant ground track and altitude. The radius from each pylon stays fixed. Eights-on-pylons maintains the wingtip line-of-sight on each pylon at pivotal altitude. Both radius and altitude vary with groundspeed throughout the turn. Eights-on-pylons is the commercial maneuver; eights-around-pylons is a private-pilot-era exercise that’s no longer on the current Private ACS.
What is the maximum bank angle for eights-on-pylons?
Per FAA-S-ACS-7B (Commercial ACS, Area V Task E) and FAA-S-ACS-25 (CFI Initial ACS, Area IX Task F), the bank angle must not exceed 40°. Typical bank angles range from 30° to 40° depending on how close the airplane is to the pylon at any given moment in the turn.
What altitude should you fly eights-on-pylons?
Whatever pivotal altitude your current groundspeed dictates. For a Cessna 172 at typical maneuvering groundspeeds of 90-100 knots, expect 700-900 feet AGL. The altitude changes throughout the maneuver as groundspeed varies between the headwind and tailwind sides of the figure eight.
Why is eights-on-pylons considered the hardest commercial maneuver?
Because the pilot has to surrender to the physics. Most maneuvers reward forcing the airplane. Eights-on-pylons rewards letting the airplane fly itself at pivotal altitude. Add the requirement to track a moving pylon visually while staying coordinated, and the cognitive load is the heaviest in the commercial syllabus.
If the CFI checkride is keeping you up at night, you're prepping for the wrong thing.
TotalCFI teaches you to walk into the oral as a teacher, not a test-taker — the reframe most candidates only figure out after they've already failed once.
What’s the toughest part of teaching eights-on-pylons for you? The pylon-fixation student who can’t get their eyes off the pylon? The student who keeps trying to do the math mid-maneuver? The one who can’t accept that the airplane is supposed to fly itself? Drop a comment below. I read every one.