How to Teach Slow Flight
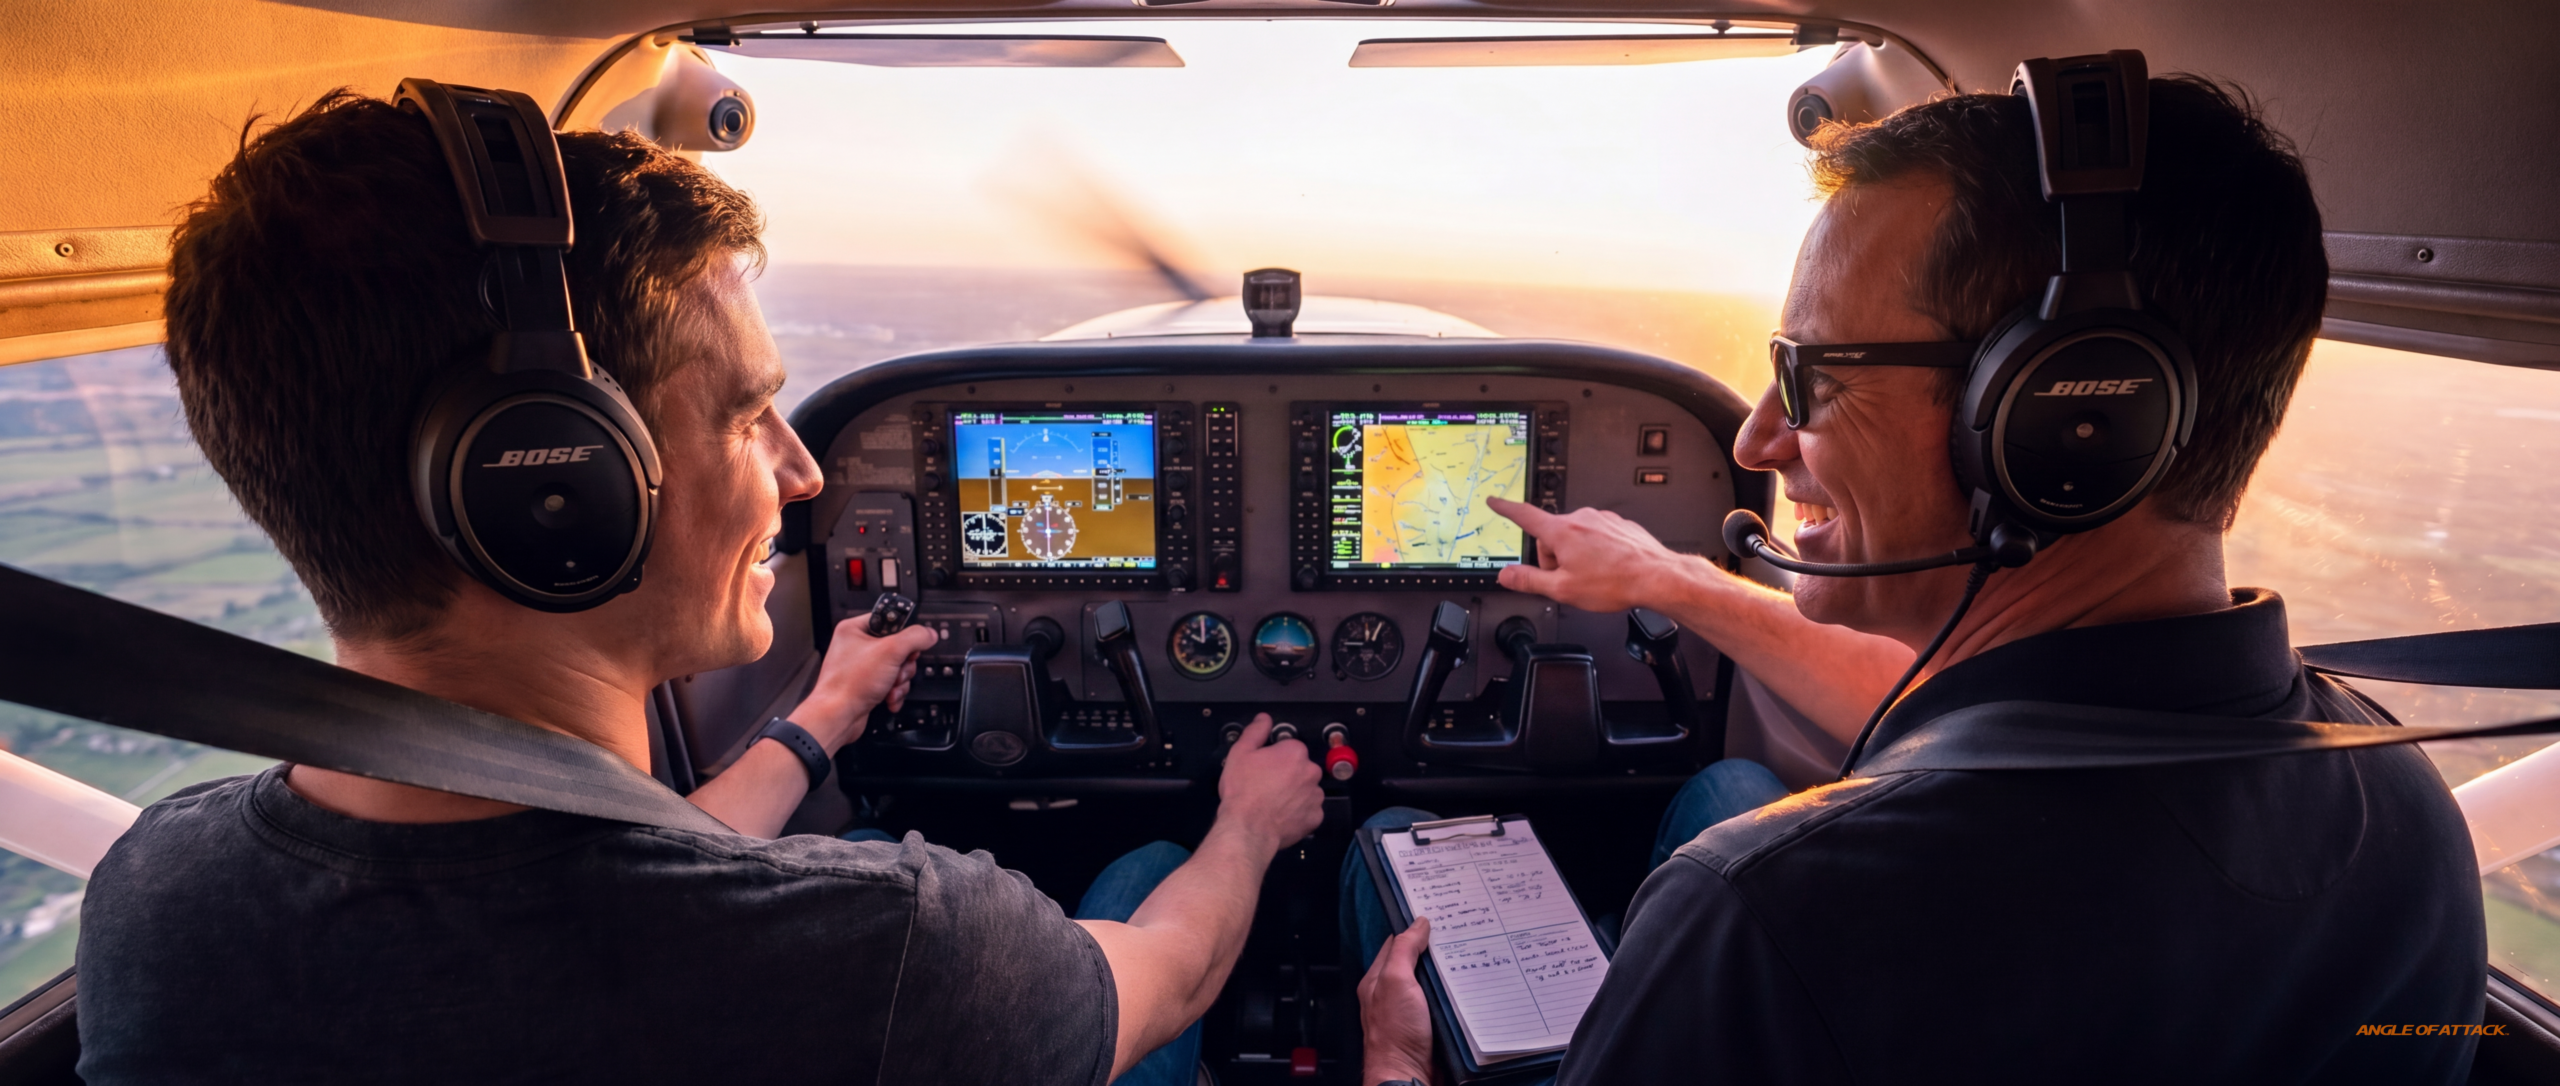
Slow flight is maneuvering at an airspeed just above the stall warning, demonstrating the airplane's flight characteristics on the back side of the power curve. Under the current Private Pilot ACS, the student flies five to ten knots above stall warning activation without triggering the warning. Under the new CFI ACS, the instructor candidate must also demonstrate flight at minimum controllable airspeed with the warning fully active. Both standards answer different questions about the same regime, and a new CFI has to teach to both.
Walking into your first lesson with a 50-page binder won't help you.
Get my Anti-Binder One-Page Lesson Plan Template free — the lesson plan tool I built for CFI candidates who want to be ready Day 1.
Get the Anti-Binder Template Free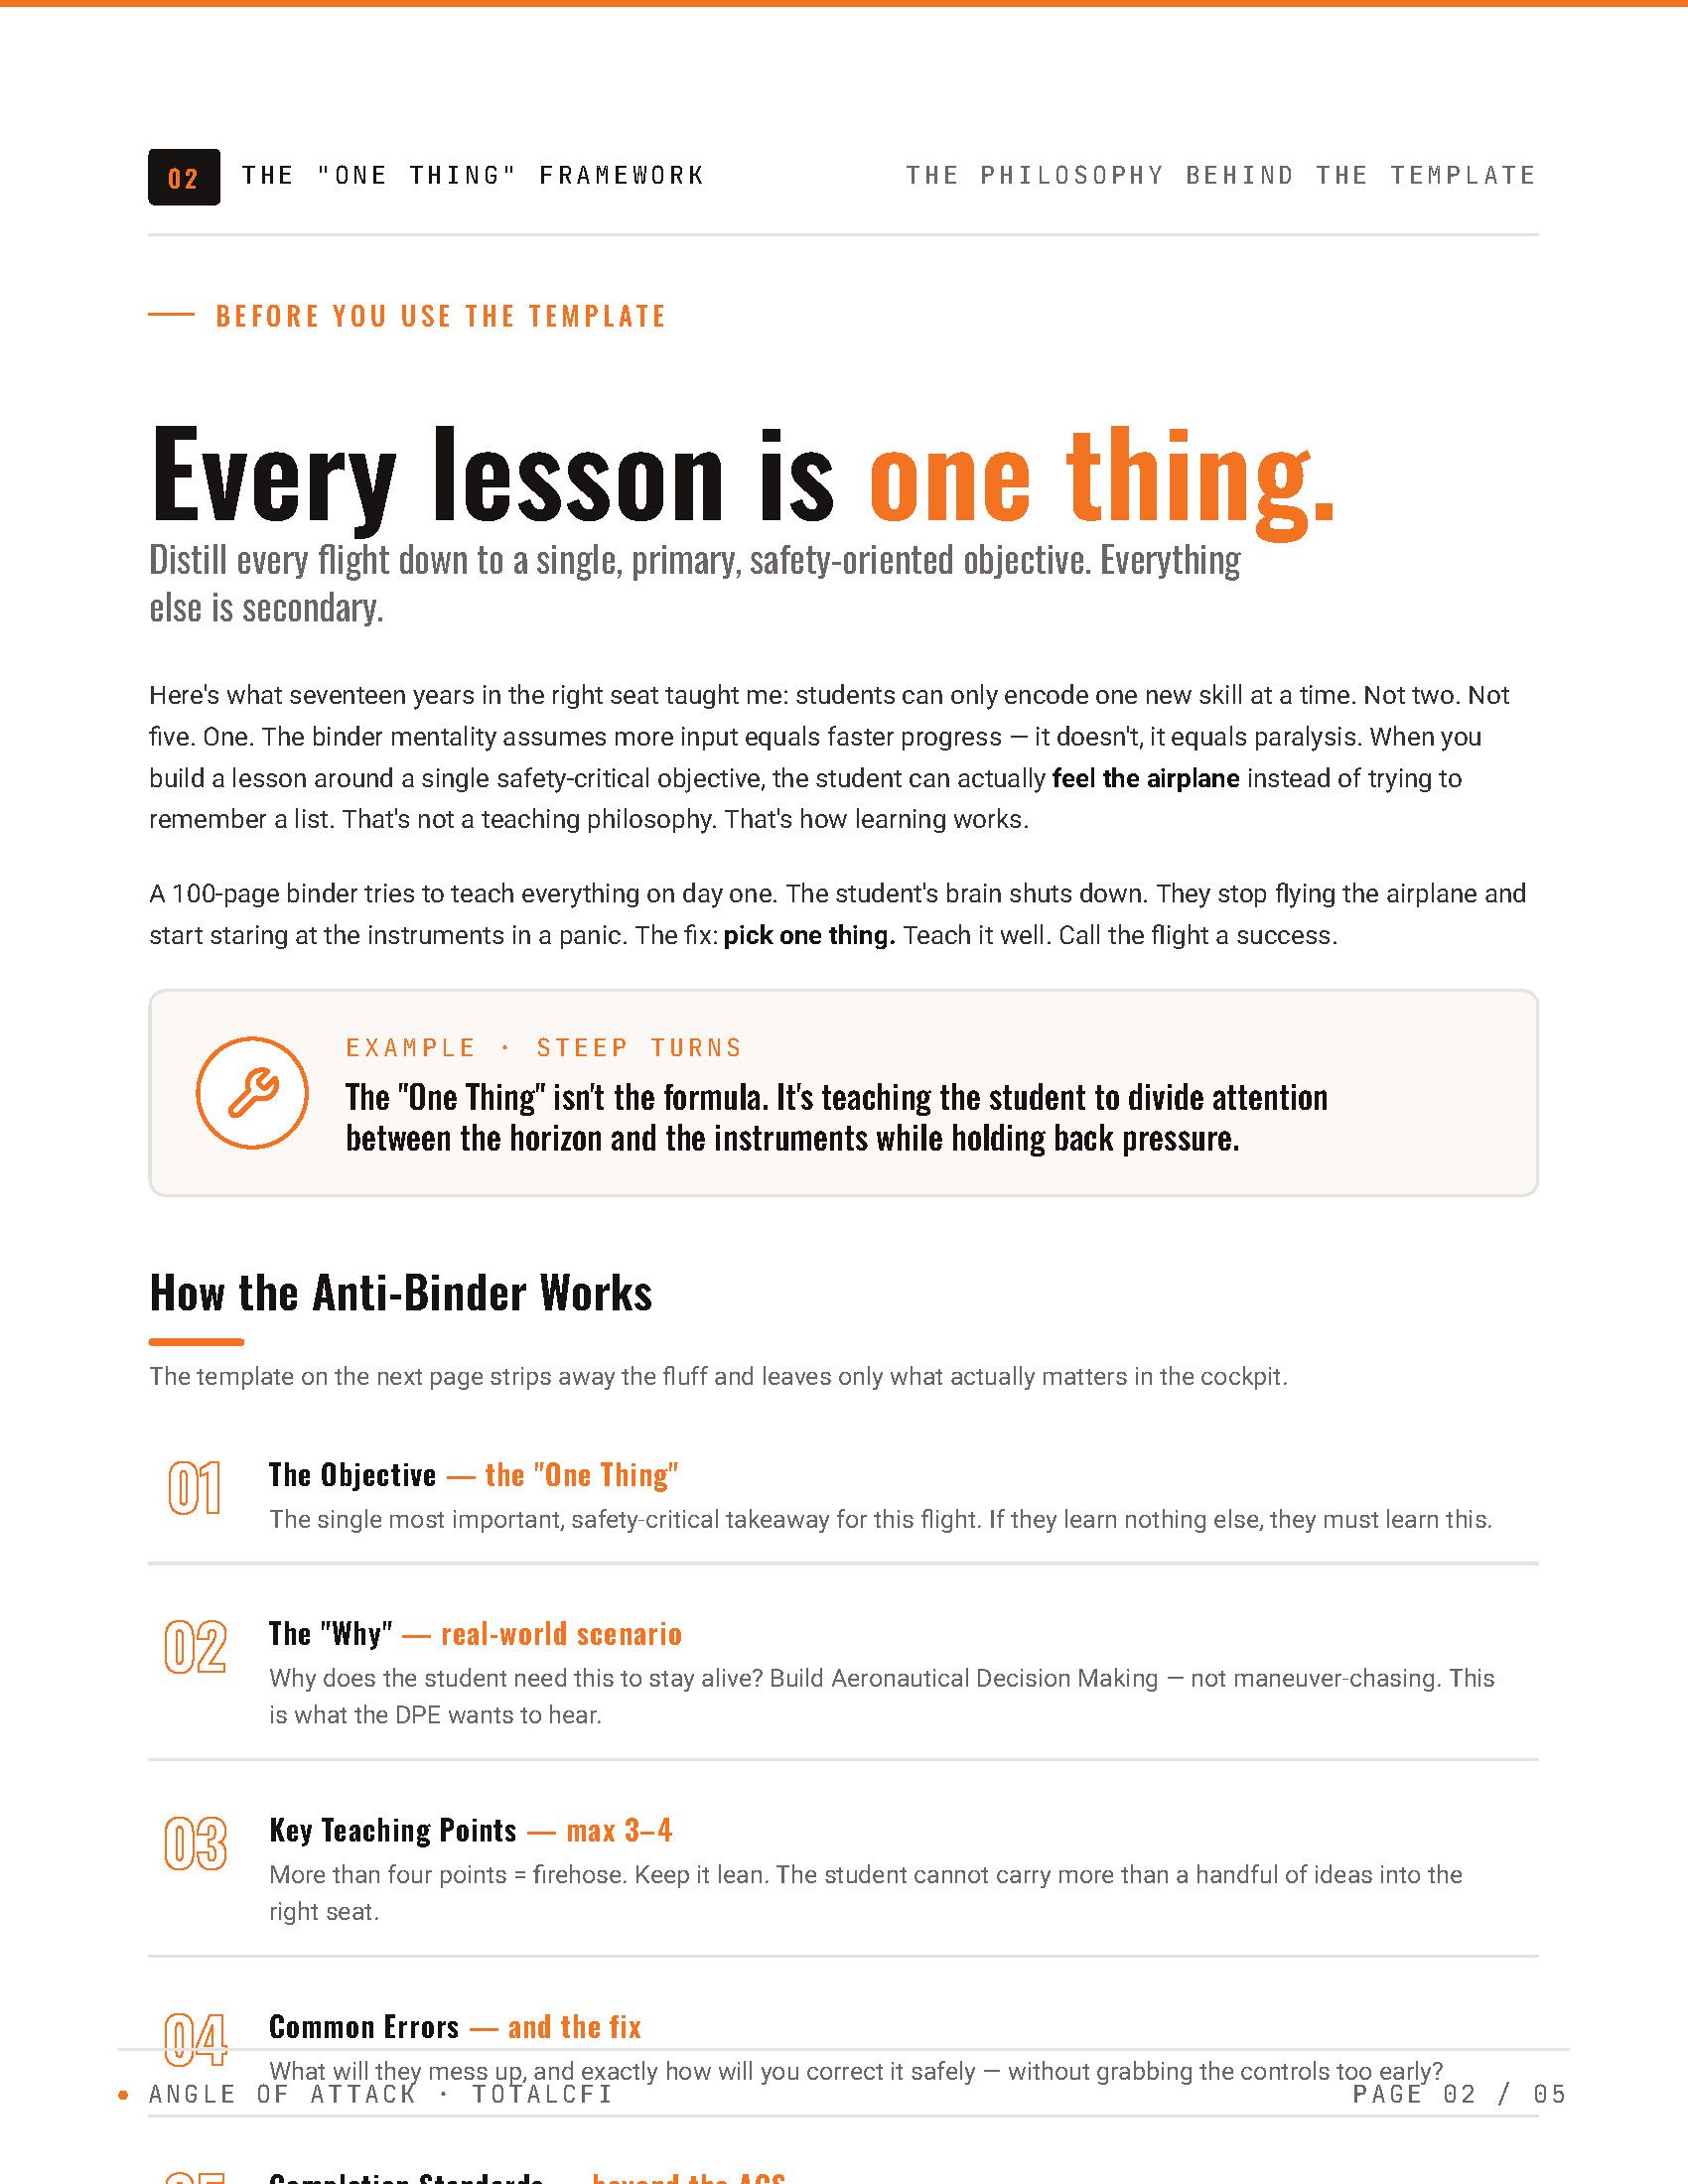
- The 2017 ACS pulled slow flight out of "fly at the buffet." The current Private Pilot standard (FAA-S-ACS-6C, Area VII Task A) requires flight just above the stall warning, not in it.
- The new CFI ACS reintroduced MCA. FAA-S-ACS-25 Area X Task B requires the CFI candidate to demonstrate flight at minimum controllable airspeed with the warning fully active.
- The lesson is the back side of the power curve. Power controls altitude, pitch controls airspeed, right rudder is constant. That reversal of cruise inputs is the entire point of the maneuver.
- The Private tolerances: ±100 ft altitude, ±10° heading, +10/-0 knots airspeed, ±10° bank, and no stall warning activation during the maneuver.
- The number-one student error is not enough right rudder. Slipstream, P-factor, and reduced rudder authority at low airspeed all push the nose left.
WHAT'S IN THIS GUIDE
- 1What Slow Flight Actually Demonstrates
- 2What the 2017 ACS Change Said
- 3What the New CFI ACS Brought Back (MCA)
- 4Find the Simpleness: Power for Altitude, Pitch for Airspeed
- 5The One-Page Lesson Plan (Six Boxes Applied)
- 6How to Teach Slow Flight From the Right Seat
- 7The Six Common Student Errors
- 8Why Slow Flight Is Every Short-Field Landing
- 9Frequently Asked Questions
What Slow Flight Actually Demonstrates

Most new CFIs walk into slow flight thinking it’s a number-chasing maneuver. Hold the airspeed. Don’t trip the warning. Stay within ±100 feet. That’s the test, and that’s also the trap. If you teach slow flight as a number, your student passes the checkride and forgets the maneuver the day after. If you teach it as a demonstration of the back side of the power curve, your student carries the feel into every short-field landing, every go-around, and every base-to-final overshoot they’ll fly for the rest of their life.
The Private Pilot ACS (FAA-S-ACS-6C, Area VII Task A) defines the standard: “Establish and maintain an airspeed at which any further increase in angle of attack, increase in load factor, or reduction in power, would result in a stall warning.” Read that twice. The student is not flying at the warning. They are flying above the warning, at the speed where one more degree of nose-up, one more degree of bank, or one more inch of throttle reduction tips the airplane into the warning. In a Cessna 172S, that’s roughly 50 to 55 knots indicated, depending on configuration and weight. Slow flight and stalls are listed as area of operation (viii) under 14 CFR 61.107(b)(1) for the Private Pilot airplane single-engine practical test.
The deeper lesson is the one the FAA can’t put in a tolerance band. The airplane is now on the back side of the power curve. The region of reversed command. Below L/D max, induced drag rises faster than parasite drag falls. The slower you go, the more power you need just to stay level. Pitch and power have traded jobs. The aerodynamics here are spelled out in the Airplane Flying Handbook (FAA-H-8083-3C) Chapter 4 if your student wants the citation.
I learned this the hard way the first time I taught it as a brand-new CFI in Wisconsin, right after the 2017 rule change. I’d grown up flying slow flight at the buffet. That was what I knew. When my student leveled off at the new target, five knots faster than I would have flown, the headset was quiet. No buffet. No horn. And he looked over at me confused, because nothing was happening. The airplane was just sitting there at a high pitch attitude, holding altitude on more power than felt right. That quiet headset is the lesson. Slow flight is the back side of the power curve, flown deliberately. Everything else is measurement.
What the 2017 ACS Change Said

Before June 2017, the Private Pilot PTS required slow flight “at an airspeed at which any further increase in angle of attack would result in an immediate stall.” Read that and you’ll see the buffet language. Pilots were trained to fly at the warning. Stall horn singing. Airframe shuddering. That was the standard.
The FAA changed it for two reasons, both spelled out in SAFO 17009 and in the AOPA reporting at the time. The first reason: loss of control in flight is the leading cause of fatal general aviation accidents, and the agency wanted training that built sensitivity to the warning, not desensitization to it. The second reason: examiners were seeing applicants who treated the stall horn as background noise. A student who hears the horn during slow flight, again during stalls, again during the approach to landing, eventually stops reacting to it. That’s the desensitization argument. The fix was to move slow flight above the warning so the horn becomes the boundary the student is avoiding, not the cue they’re flying to.
There is a published dissent you should be able to recognize, even if you don’t argue it from the right seat. Rod Machado wrote a long piece criticizing the change. His points are that the stall horn isn’t a stall, that desensitization is a psychologically thin claim, that the allowable speed (up to 1.34 Vs in some readings, his arithmetic, not the FAA’s) is actually faster than approach speed, and that the change degrades attitude-flying skill. One thing Machado has right: the stall horn is a warning, not a stall. Teaching the student to react to it as a boundary signal, not as a stall recovery trigger, is the whole point of moving the maneuver above the horn. You don’t have to take Machado’s side to know the argument. The literature exists. Acknowledge it once, then operate to the standard.
For the Private student you’re teaching, the rule is clean: stay above the warning, hold your tolerances, demonstrate the back side of the power curve. That’s the test. The horn is the boundary, not the destination.
What the New CFI ACS Brought Back (MCA)
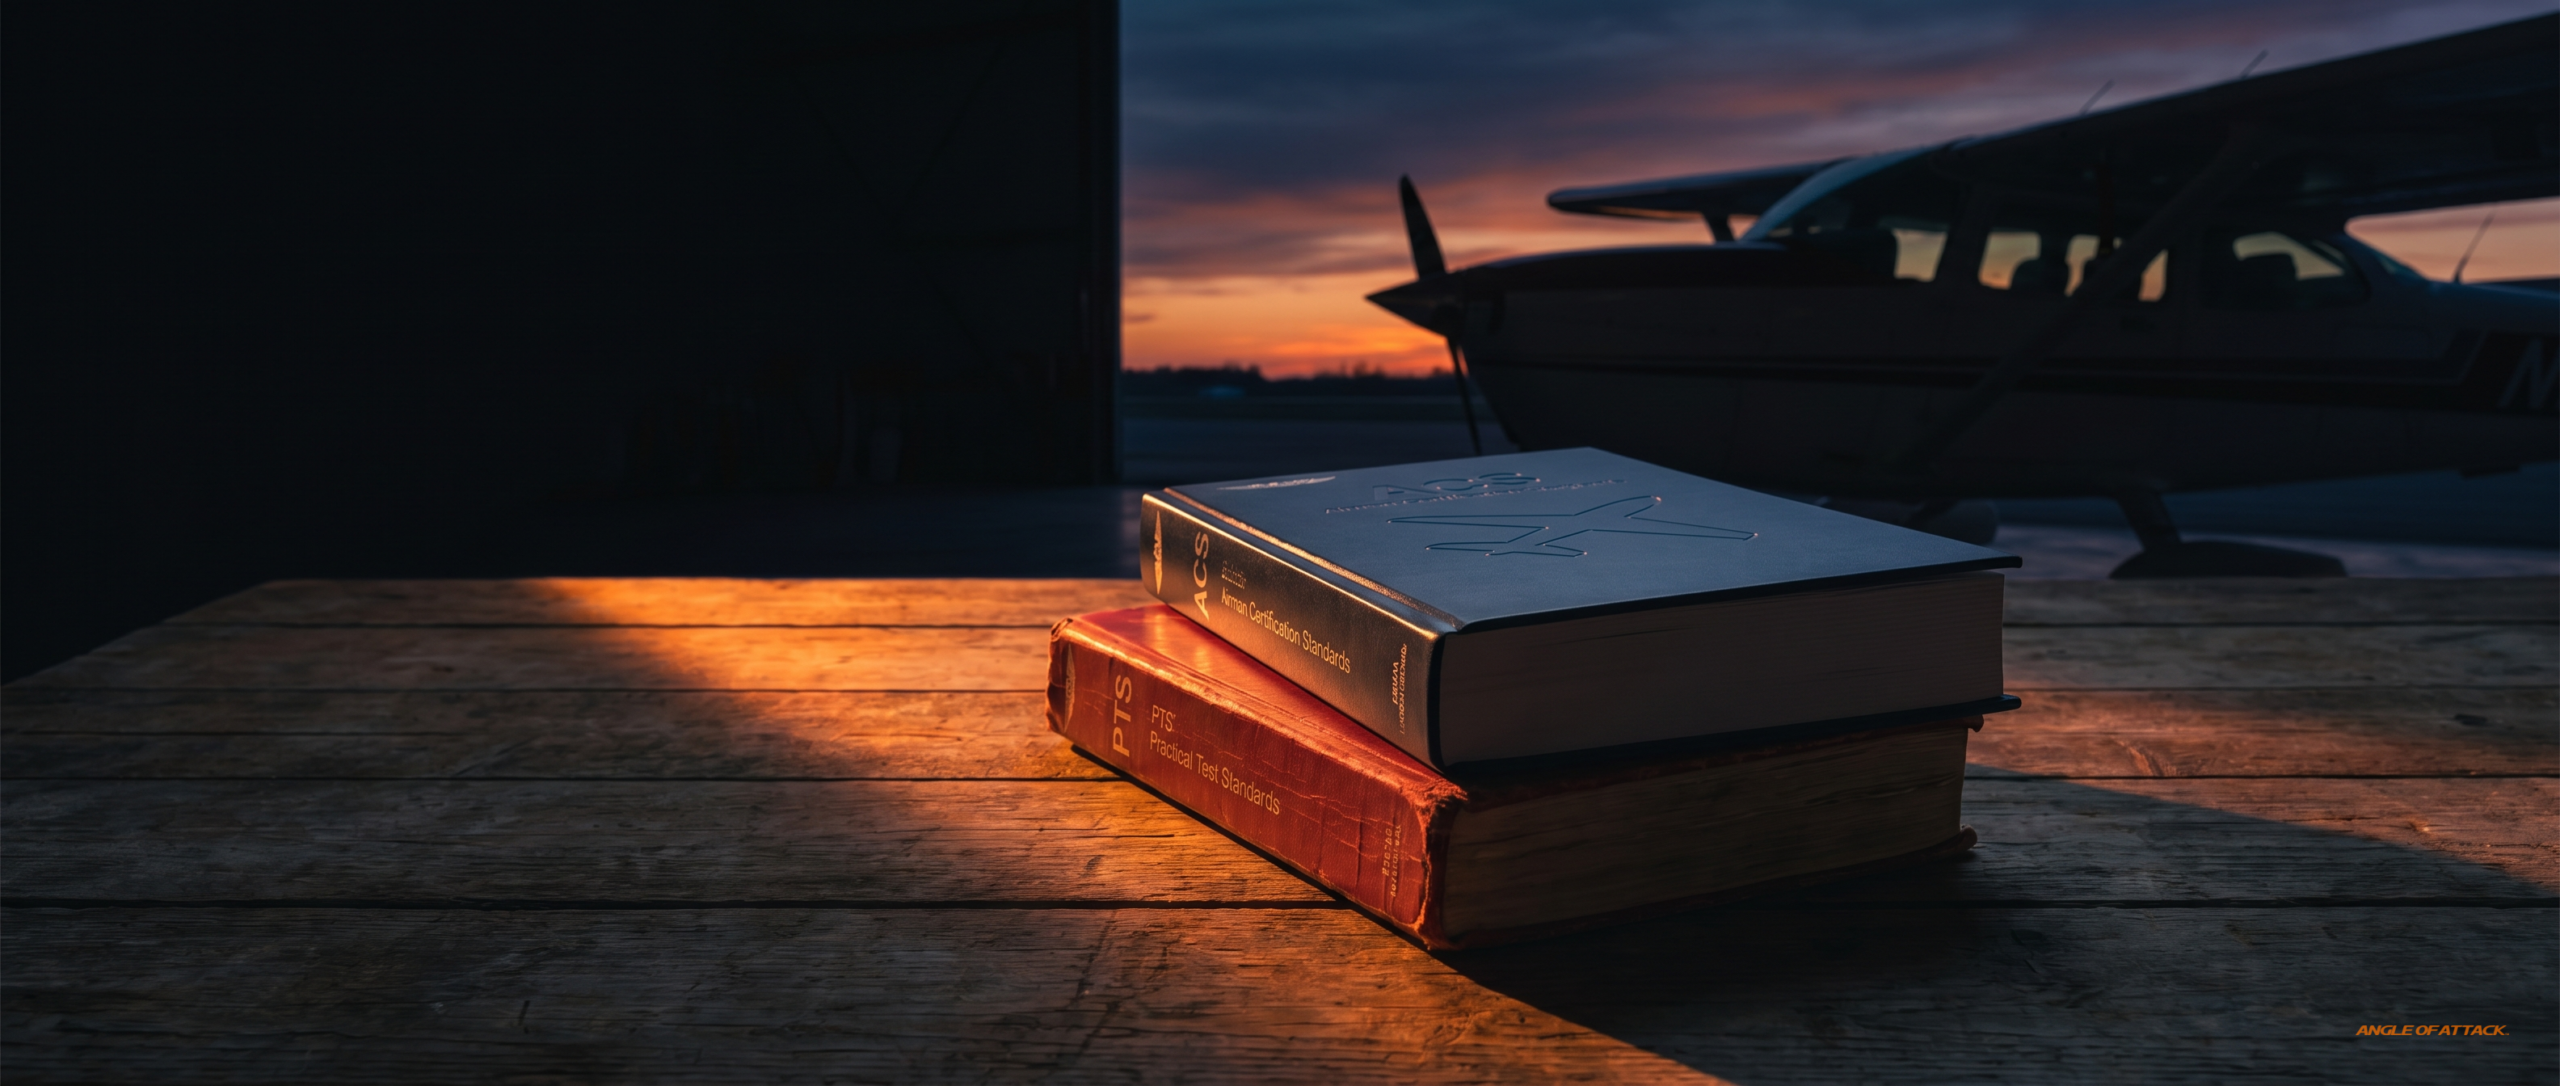
Most CFI candidates miss this until the examiner brings it up. In November 2023, the FAA published FAA-S-ACS-25, the first Flight Instructor Airplane ACS, replacing the legacy Practical Test Standards (FAA-S-8081-6D), and it brought MCA back. Specifically: Area X Task A is Maneuvering During Slow Flight, demonstrated by the candidate to the Private standard (above the warning, tolerances per FAA-S-ACS-6C). Area X Task B is Demonstration of Flight Characteristics at Various Configurations and Airspeeds, and it requires the CFI candidate to demonstrate flight at minimum controllable airspeed with the stall warning fully active. Task B is structured as a profile: maneuvering speed, best glide, then critically slow airspeed with warning active and an immediate stall imminent, then a recovery without altitude change. The candidate flies the profile in both clean and landing configurations.
Two standards. One regime. Same airplane.
Why did the FAA put MCA back at the CFI level? My read, and you’ll hear it in the DPE community too, is that the agency recognized something practical. A CFI cannot teach to the warning if they have never themselves flown at the warning under control. The Private student needs sensitivity to the horn. The CFI needs the deeper feel of MCA so they can recognize and recover from an inadvertent slow-flight encounter at any altitude, in any phase. The two standards answer different questions about the same regime, and the new CFI has to hold both in their head at once.
What this means at the checkride: your DPE can test you on Task A or Task B at the CFI checkride. You don’t know which one until the briefing. You have to be ready to demonstrate slow flight to the post-2017 standard (no warning, ±100 ft, +10/-0 knots, ±10° bank) and MCA to the new instructor standard (warning active, controlled flight, recovery on cue). You also have to be ready to teach slow flight to a Private student, which means using only the post-2017 standard in your demonstration brief. And the CFI’s own Task A tolerances tighten compared to what your student has to hold: ±50 ft altitude and ±5° bank for the instructor candidate, versus the Private student’s ±100 ft and ±10°. Practice both. Don’t conflate them when you talk to the student. Holding both standards in your head at once is the thing your DPE is testing. The new CFI who walks in clear on this is the new CFI who walks out with the temporary.
Find the Simpleness: Power for Altitude, Pitch for Airspeed

The Aviation Instructor’s Handbook (FAA-H-8083-9B, Chapter 7 — Planning Instructional Activity) makes the case for distilling every lesson down to its one durable idea. Old-school CFIs call it “finding the simpleness.” The one idea the student carries off the airplane. For slow flight, here it is, and you say it twice. Once in the brief on the ground. Once in the debrief on the ramp.
“You are on the back side of the power curve. Power controls altitude. Pitch controls airspeed. The airplane responds backwards from what cruise feels like.”
That’s the entire lesson. The ACS tolerance is the measurement. The simpleness is the takeaway.
Why does the airplane behave this way? Below L/D max, induced drag (the drag generated by lift) rises faster than parasite drag falls. To slow down, you have to fly at a higher angle of attack, which generates more induced drag, which requires more power just to maintain altitude. In cruise, pitch is your altitude lever and power trims your airspeed. On the back side, those levers swap. Pull back on the yoke and you don’t climb. You slow down, deepen the AOA, and either need more power or you sink. Add power and you don’t accelerate. You arrest the sink and gain altitude. The whole control logic has inverted, and it inverts cleanly at the speed your student is about to feel for the first time.
I had a student in Homer, N2423U, who couldn’t get it the first time we tried slow flight in the airplane. He was descending out of altitude in the maneuver, instinctively pitched up to climb back, and bled airspeed until the horn was screaming. We recovered, climbed back up, leveled off, and tried it again. Same thing. He kept reaching for the cruise lever (pitch) to fix altitude, and the airplane kept punishing him for it. So we landed, walked into the FBO, and I drew the power curve on a notepad. I marked L/Dmax. I drew an arrow pointing to the left of L/Dmax. I wrote “you are here” with a little dot. Then I drew the arrow that said “altitude” and pointed at the throttle, and the arrow that said “airspeed” and pointed at the yoke. Ninety seconds. We went back up, flew it again, and he held altitude on the first try. The maneuver hadn’t gotten easier. His mental model had gotten right.
This is what I mean by find the simpleness. The student didn’t need more tolerance practice. He needed the inversion named.
The One-Page Lesson Plan (Six Boxes Applied)

The six-box lesson plan template lives in the CFI lesson plan template. That article walks you through the format in detail. Here it is applied to slow flight, the way I’d actually carry it on a clipboard.
Box 1 — Objective. The student will establish, maintain, and recover from slow flight to within ACS tolerances, without inducing the stall warning, and will articulate the back-side-of-the-power-curve relationship in their own words by the end of the debrief.
Box 2 — Completion Standard. Maintain assigned altitude ±100 ft, heading ±10°, airspeed +10/-0 knots from the slow-flight target, bank ±10° off the specified angle, with no stall warning activation during the maneuver. Recovery to cruise within ±100 ft of entry altitude.
Box 3 — The One Thing. “You are on the back side. Power controls altitude. Pitch controls airspeed.” Say it on the ground. Say it again at altitude before the demo. Say it a third time in the debrief.
Box 4 — Common Errors. Not enough right rudder. Pitching up to climb. Chasing airspeed with pitch. Letting the airplane sink into the warning. Inadequate clearing turns. Hand off the throttle. (Detail in the next H2.)
Box 5 — Teaching Sequence. Brief on the ground → demo at altitude (one clean cycle, narrated) → student-flown attempt → debrief on the ramp.
Box 6 — Debrief Prompt. “When the airplane got mushy, what did you change first?” The answer reveals whether they felt the inversion or just reacted with cruise instinct.
That fits on one page. Print it, laminate it, fly with it. This is the kind of right-seat scaffolding I work through in detail inside the TotalCFI course. Lesson 3.4 walks through slow flight specifically and how the six-box format compresses a complicated maneuver into something the student can leave with. The Anti-Binder Template is the printable version of this kind of plan, designed so you spend your evenings flying scenarios instead of typing pages.
How to Teach Slow Flight From the Right Seat
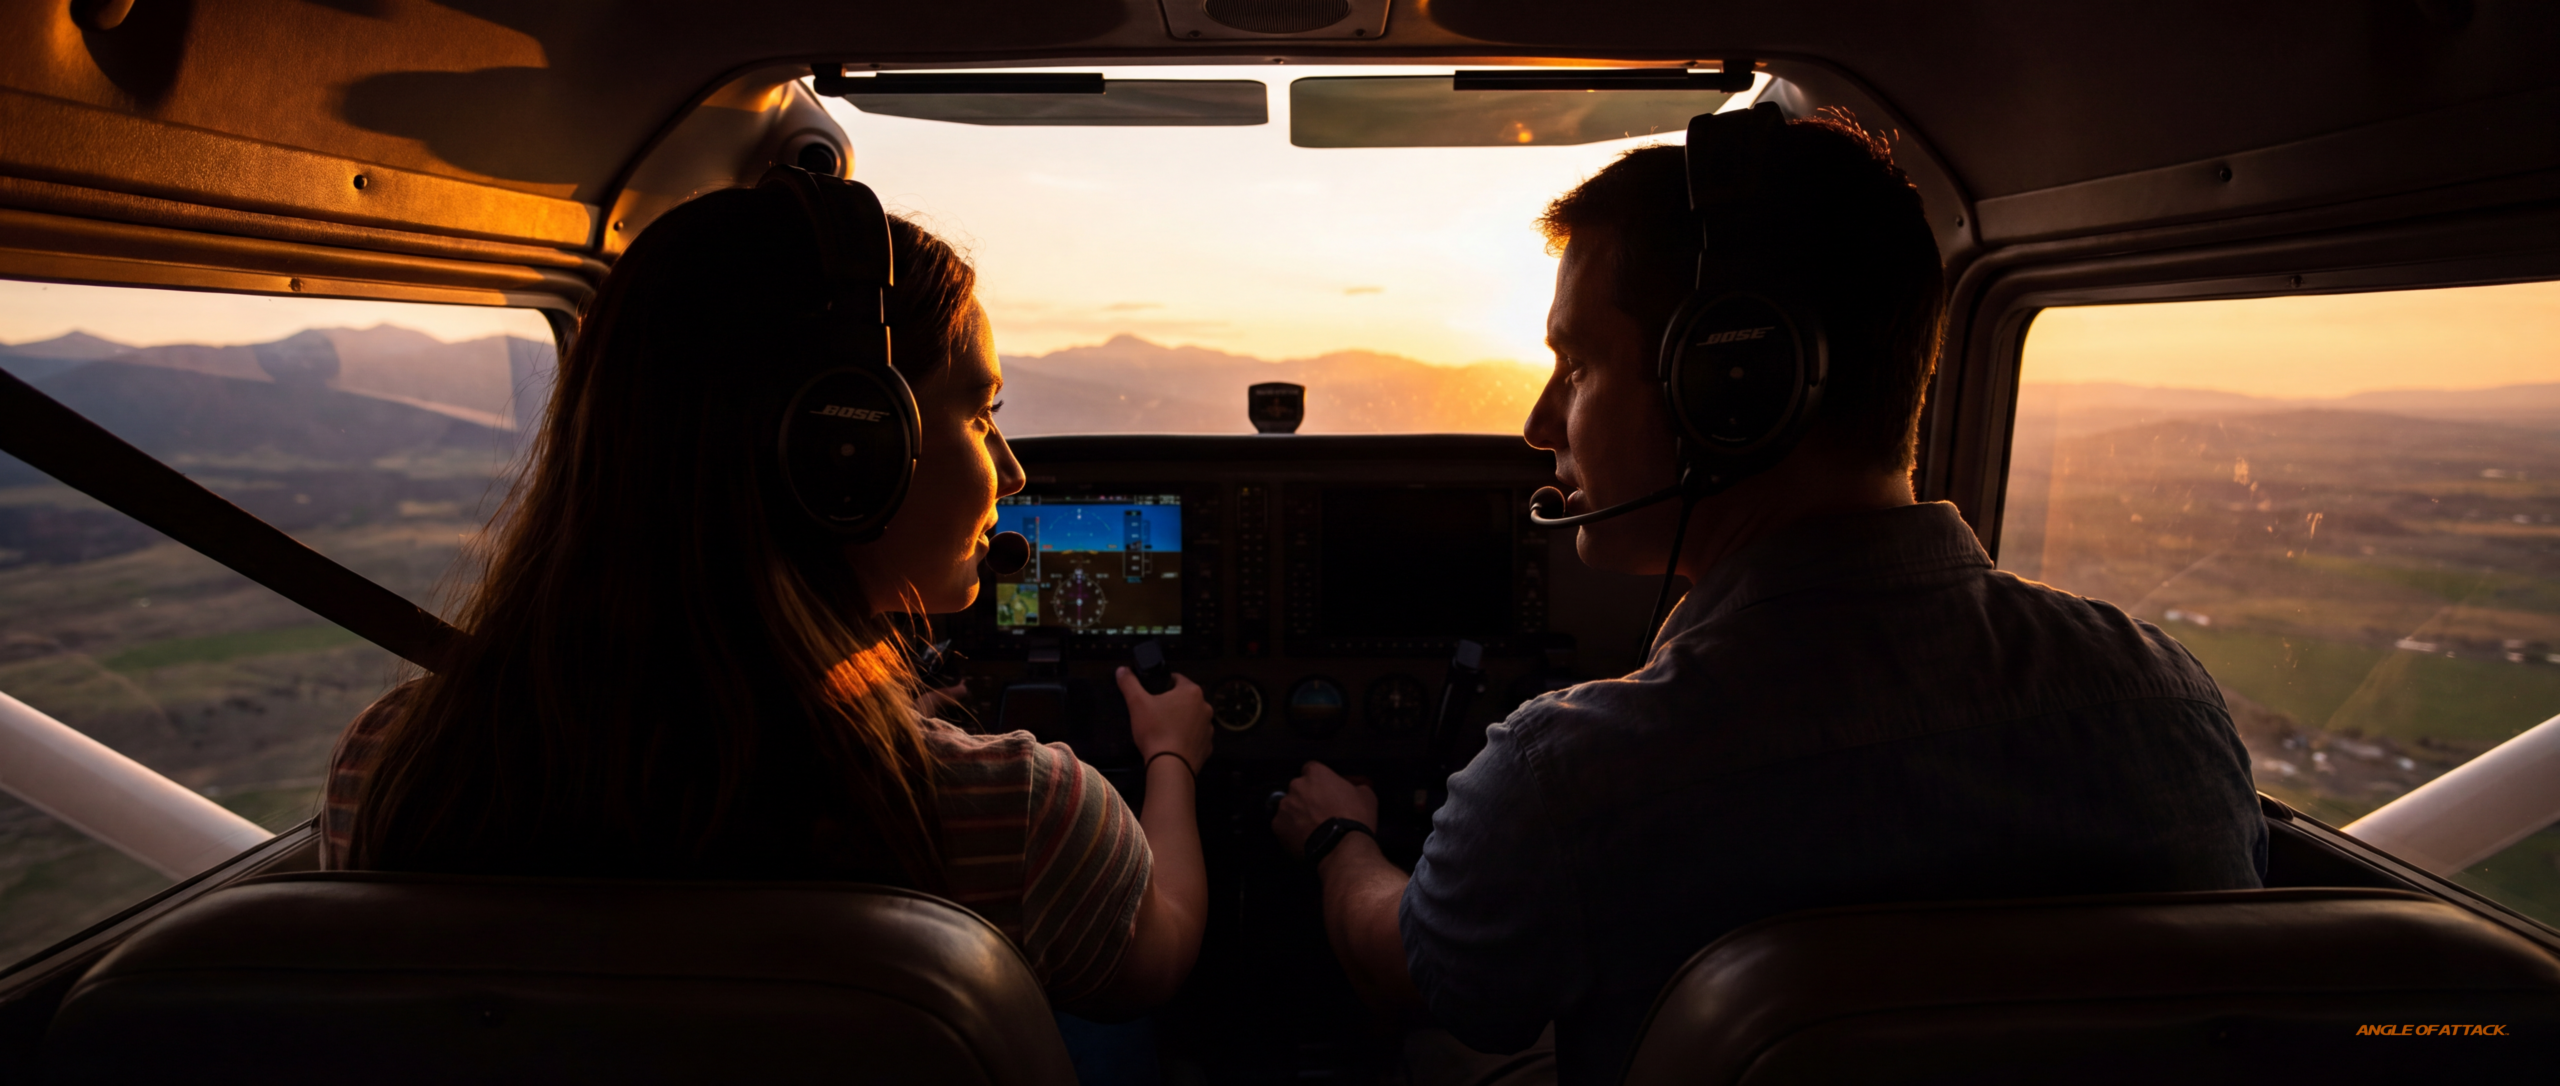
The teaching sequence is four moves. Brief. Demo. Student-flown. Debrief. Get all four right and the student leaves with the feel.
The brief. Before you leave the hangar, draw the power curve on a notepad. Mark L/Dmax. Point to the left side. Write “you are here.” Tell the student the inversion in plain English: power for altitude, pitch for airspeed, right rudder constant. Then tell them what they’re going to feel. The airplane is going to get mushy. The controls are going to feel softer. The pitch attitude is going to be high. The throttle is going to be doing more work than it ever has. Name the experience before they have it.
The demo. One clean cycle. Clearing turns. Reduce power. Hold altitude with pitch as the airplane decelerates. Add flaps in sequence as you cross each flap-extension airspeed (Vfe). Trim. Trim again. As you settle in just above warning speed, narrate every input. “Right rudder coming in to hold heading. Power up two hundred RPM to hold altitude. Nose attitude steady. Pitch is for airspeed now.” Don’t be quiet. A silent demo teaches nothing. The student is watching your hands and listening to your voice. Both have to be telling the same story.
The student attempt. Hand it over. Keep your voice quieter than you think you need to. Hands light on your side, feel the yoke, don’t grip it. Watch for the pitch-up-to-climb instinct. The first time the student loses ten feet of altitude, they will reach for back pressure. That’s the moment. Verbal cue: “Power, not pitch.” Two words. Don’t lecture. The airplane will teach them faster than you can.
A side note for new CFIs, and one I learned myself as a two-time Master Aviation Educator who had to relearn this when I transitioned to the right seat in Wisconsin in 2017: the right-seat rudder feel is different. The cue you trained from the left seat (pressure under the right foot) translates, but the visual sight picture in the right seat skews the perception of yaw. You will miss uncoordinated flight in students if you don’t deliberately retrain the right-seat coordination feel during your CFI prep. Get a senior CFI to put you in the right seat and intentionally fly uncoordinated until you can call it without looking at the ball. Then you can teach it.
The debrief. On the ramp. Engine off. Ask one question: “When the airplane got mushy, what did you change first?” If they say “I added power,” they felt it. If they say “I pitched up,” they reacted with cruise instinct and you have one more lesson of work to do. Either way, the student leaves articulating the answer in their own words, which is how the simpleness sticks.
The Six Common Student Errors

Every CFI’s slow flight book has the same errors. Here they are with the right-seat verbal cue for each one, the thing you say when you see the symptom, before you intervene.
1. Not enough right rudder. The number-one error, universally. Slipstream off the propeller, P-factor at high AOA, and reduced rudder authority at low airspeed all push the nose left. The ball slides right; the student doesn’t notice; you watch the heading walk off. Cue: “Step on the ball.” If the ball is right of center, more right rudder. If it’s left, more left rudder. Don’t overthink it.
2. Pitching up to climb. The cruise-instinct trap. Student loses altitude, reaches for back pressure, bleeds airspeed, deepens the back side, sinks faster. Cue: “Power, not pitch.”
3. Chasing airspeed with pitch. Student sees airspeed bobble, tries to fix it with the yoke instead of holding the attitude steady and adjusting power. The airplane chases itself in a slow pitch oscillation. Cue: “Pick an attitude and hold it.” The throttle controls the airspeed fine-tuning. Pitch is gross-control.
4. Letting the airplane sink into the warning. This is the bust task on the checkride under the post-2017 standard. The student gets distracted, fails to add power as the nose drops, descends into the warning band. Cue, before it happens: “Watch the trend.” Reading the VSI early prevents the chase. If the trend says descending, more power now, not when the altimeter has moved fifty feet.
5. Inadequate clearing turns. Examiner-side error. The student rushes the entry, doesn’t actually clear, and you’re now a passenger in a maneuver done unsafely. Cue: “Clear and clear again.” Two 90° turns (or a single 180° clearing turn if airspace permits), called out, eyes outside. This is one of the small habits the examiner watches for as a maturity check.
6. Hand off the throttle. A graded item on your lesson plan as the CFI. Slow flight is a power-required maneuver, and the standardization expectation is that your hand stays on the throttle the entire time. If you let go to adjust the trim wheel, or worse, to fold a chart, the examiner notes it. Cue to yourself: “Throttle, then trim, then back on the throttle.” Always.
For more on the maneuver family slow flight feeds into (power-off stalls, power-on stalls, and the umbrella stall-teaching framework), see how to teach stalls, how to teach power-off stalls, and how to teach power-on stalls. Slow flight is the door the student walks through to get to stall recognition. The errors here are the same errors that appear there.
Why Slow Flight Is Every Short-Field Landing
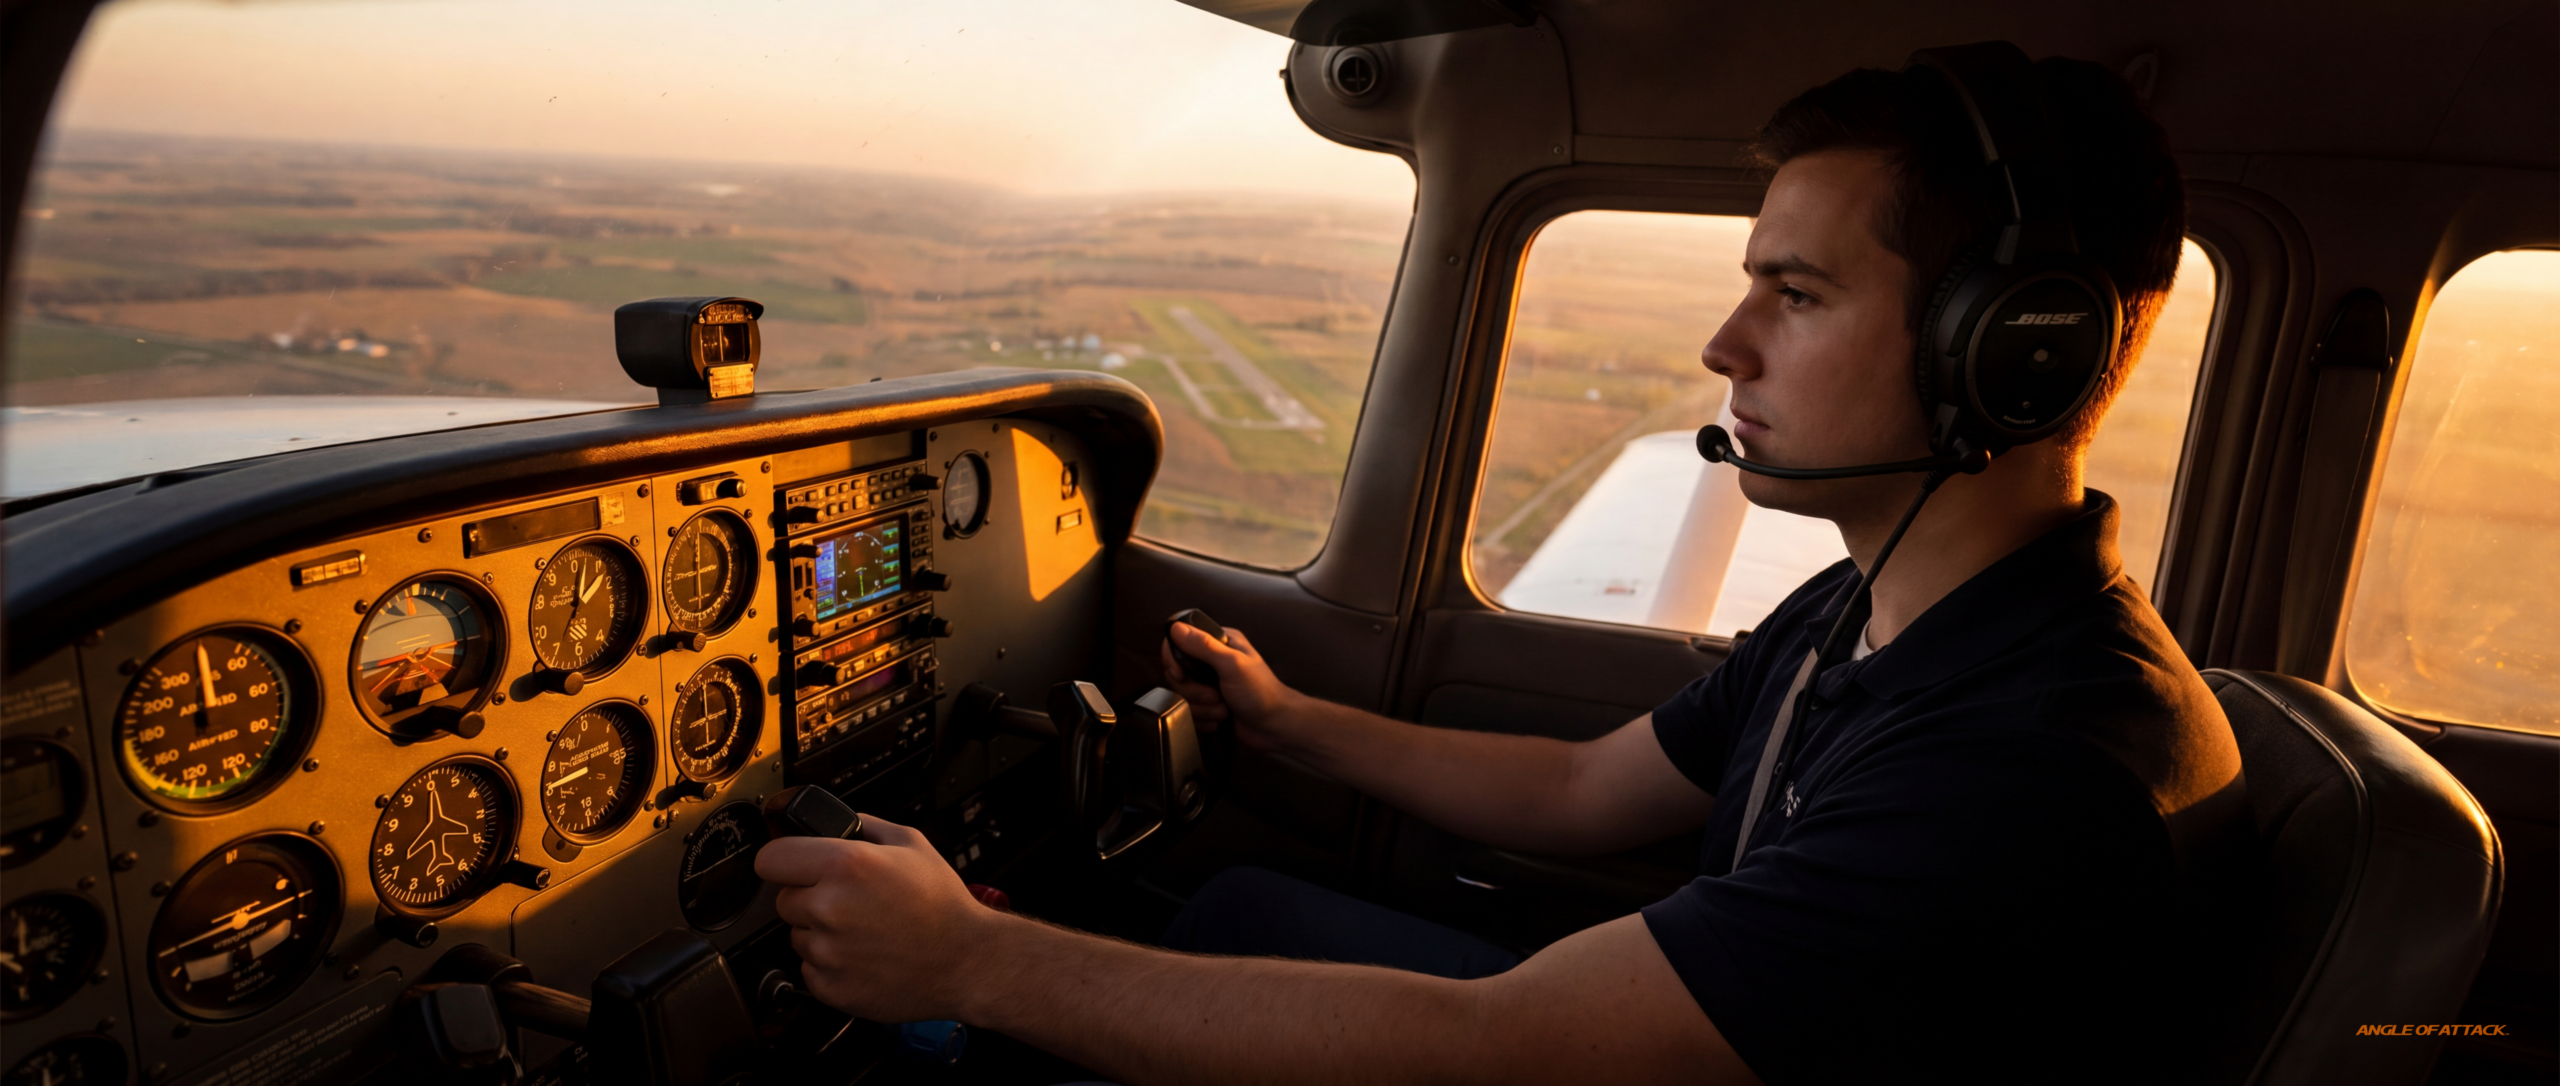
I tell every student this before we wrap the debrief. Slow flight is the last quarter mile of every landing you’ll ever fly.
Short-field approach. You’re at 1.3 Vso, flaps full, nose attitude high, throttle doing the altitude work. That’s slow flight. The go-around: full power, pitch attitude for climb, flaps retracted in sequence. That starts in slow flight. The base-to-final overshoot where the student pulls back and rolls in to fix it. That’s the same back-side regime, except now they’re banking, and they’re closer to the ground, and the cruise instincts that didn’t kill them at three thousand feet might kill them at three hundred.
The reason we teach slow flight is not so the student can perform a maneuver in a designated practice area on a checkride. It’s so the airplane behaves predictably to them when they’re slow, configured, and pointed at a runway. The cross-link to how to teach crosswind landings is direct. Every crosswind landing finishes in slow flight, with rudder authority decreasing and yaw control under your feet. If your student is comfortable on the back side of the power curve at altitude, they have a chance on the back side of the power curve over the threshold. If they’re not, they don’t.
Get that into their hands and feet, and the ACS tolerance becomes the easy part. The checkride is just the FAA checking your work.
If the CFI checkride is keeping you up at night, you're prepping for the wrong thing.
TotalCFI teaches you to walk into the oral as a teacher, not a test-taker — the reframe most candidates only figure out after they've already failed once.
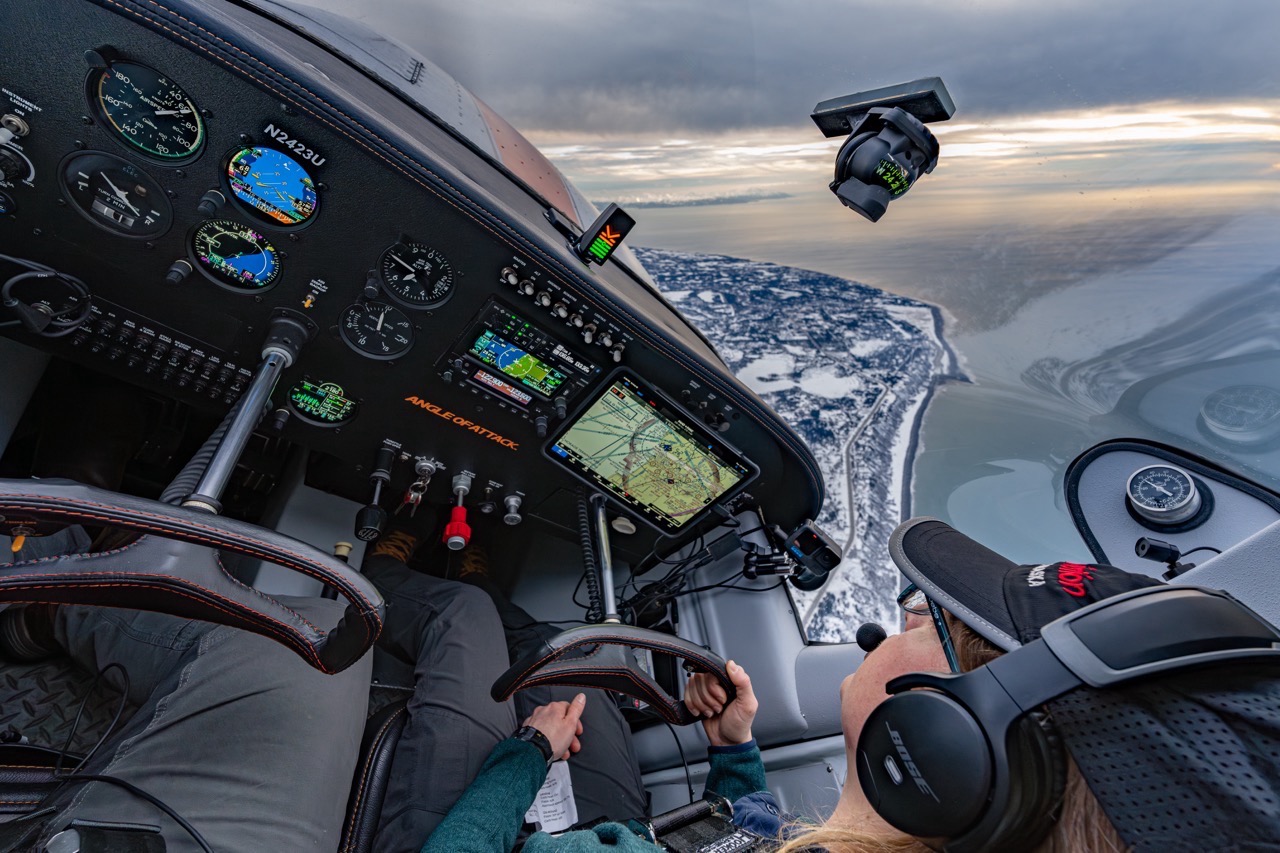
Founder & Chief CFI, Angle of AttackTwo-time Master Aviation Educator (NAFI) • Gold Seal CFIIn aviation education since 2006